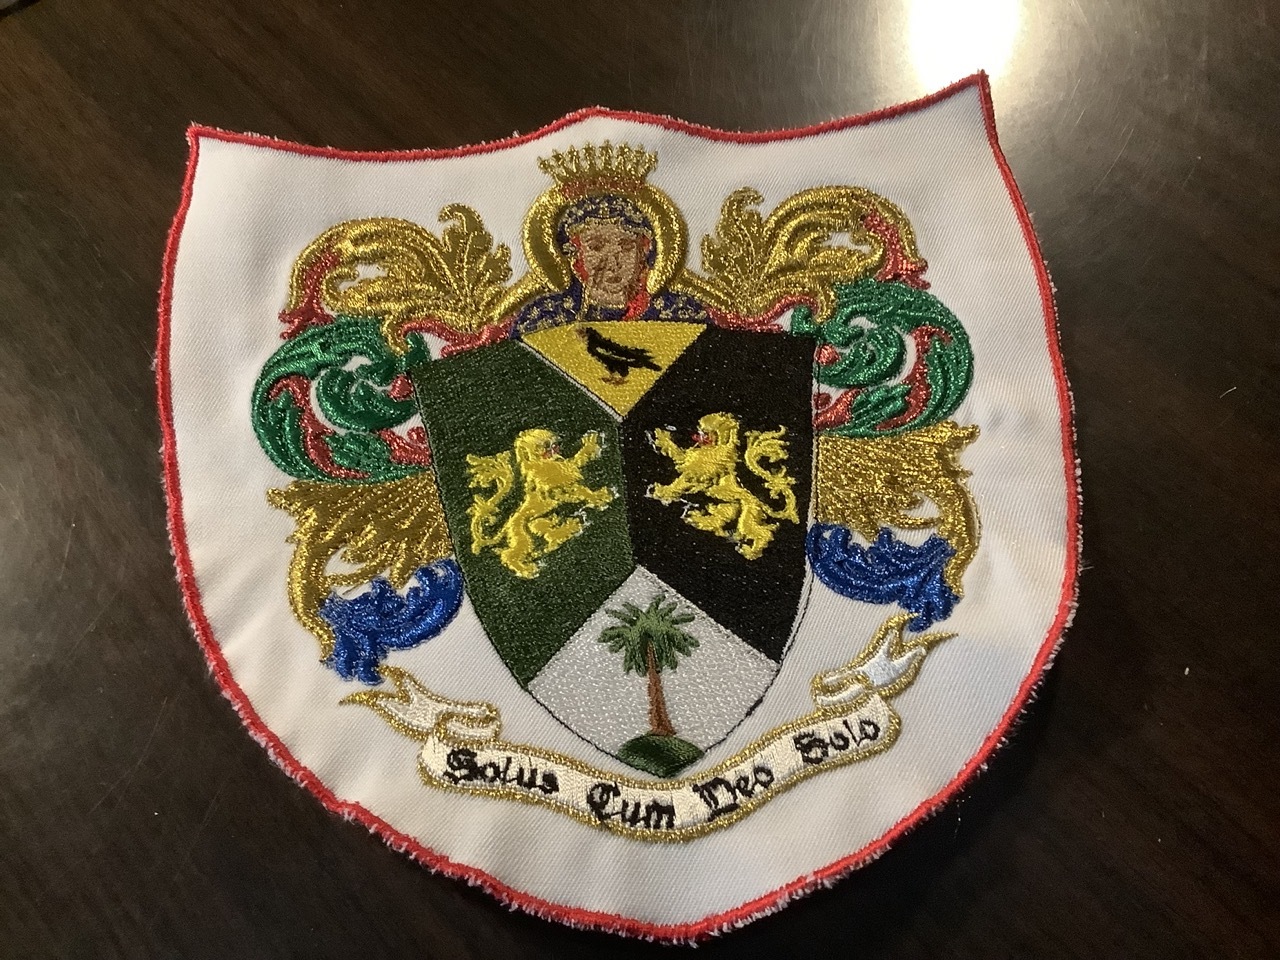
So, here I am, just wanting to experiment with making vestments. It would have been much less work and cheaper to buy the stuff. But I was looking for an excuse right now. So at my parents, I keep a set of vestments, but they are only chasuble and stole, which will not do for a Latin Mass. So looking to make the burse (a rigid case that holds the corporal and goes on top of the chalice), chalice veil and maniple (kind of like a mini stole warn on the priest’s arm).
The Materials for the Vestments

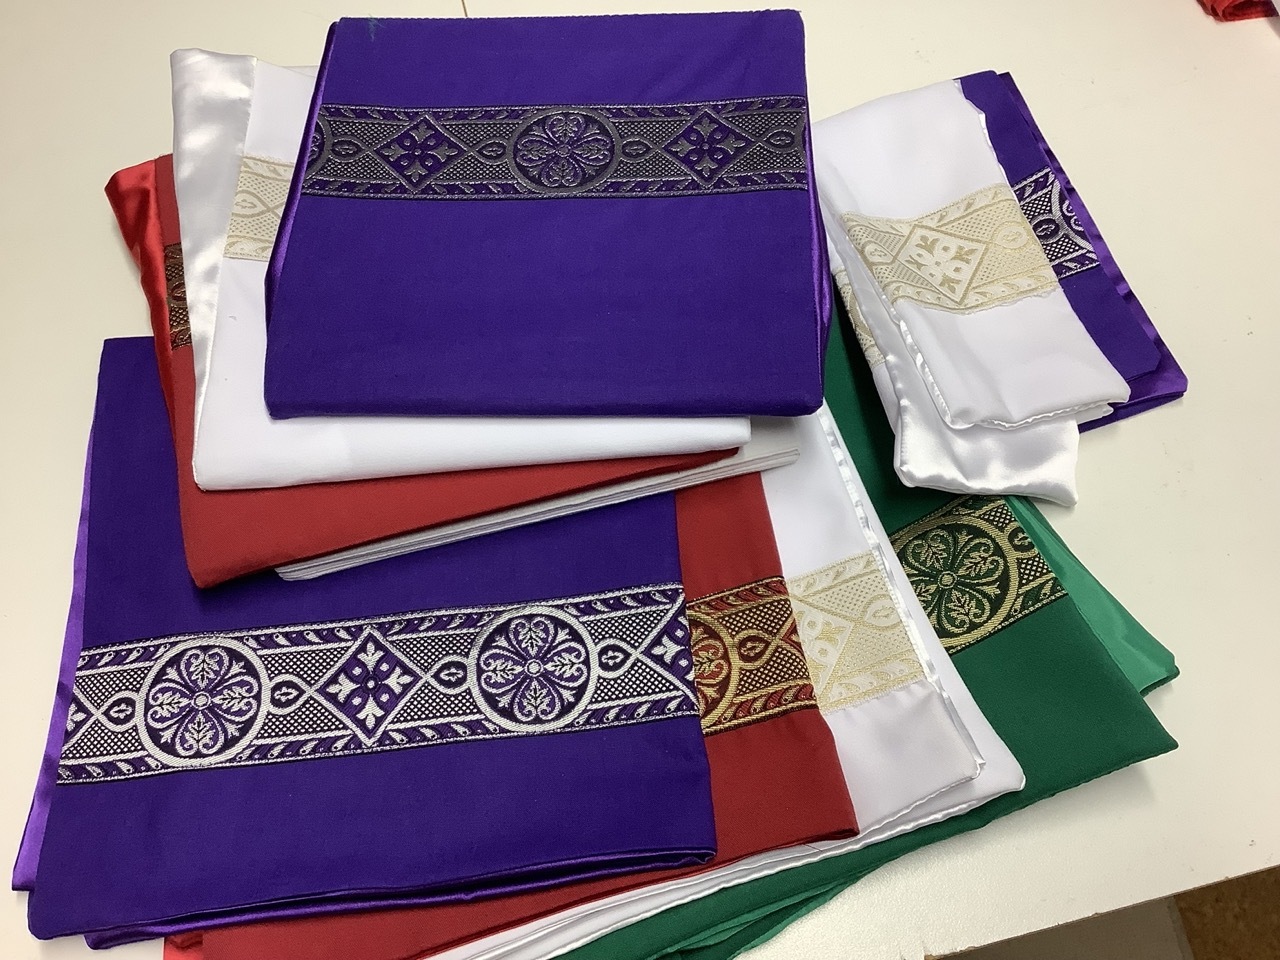
On the bottom left, I have the primary materials in each of the four colours. Then in the middle, the orphreys are also in the four colours, plus a blue (Marian) one. Bottom right is the perplex that I put inside the burse with some white calico to line it. Then the top right is the liner for the back of everything.
The chalice veil was easy to make, much like making a simple square pillow but putting nothing in it. There is nothing overly complex about the maniple either. The burse was a little more complicated. It took a while of looking at the one I brought to work out how it was put together. It seemed that the first thing was to line the perplex, and it was easiest to make something with two pockets into which the perplex could be pushed. The outside was also a little tricky. Trying to get the two wedges on the sides that let it open, but only wide enough to slip a corporal inside, was fiddly. It also had to be hand sewn on.
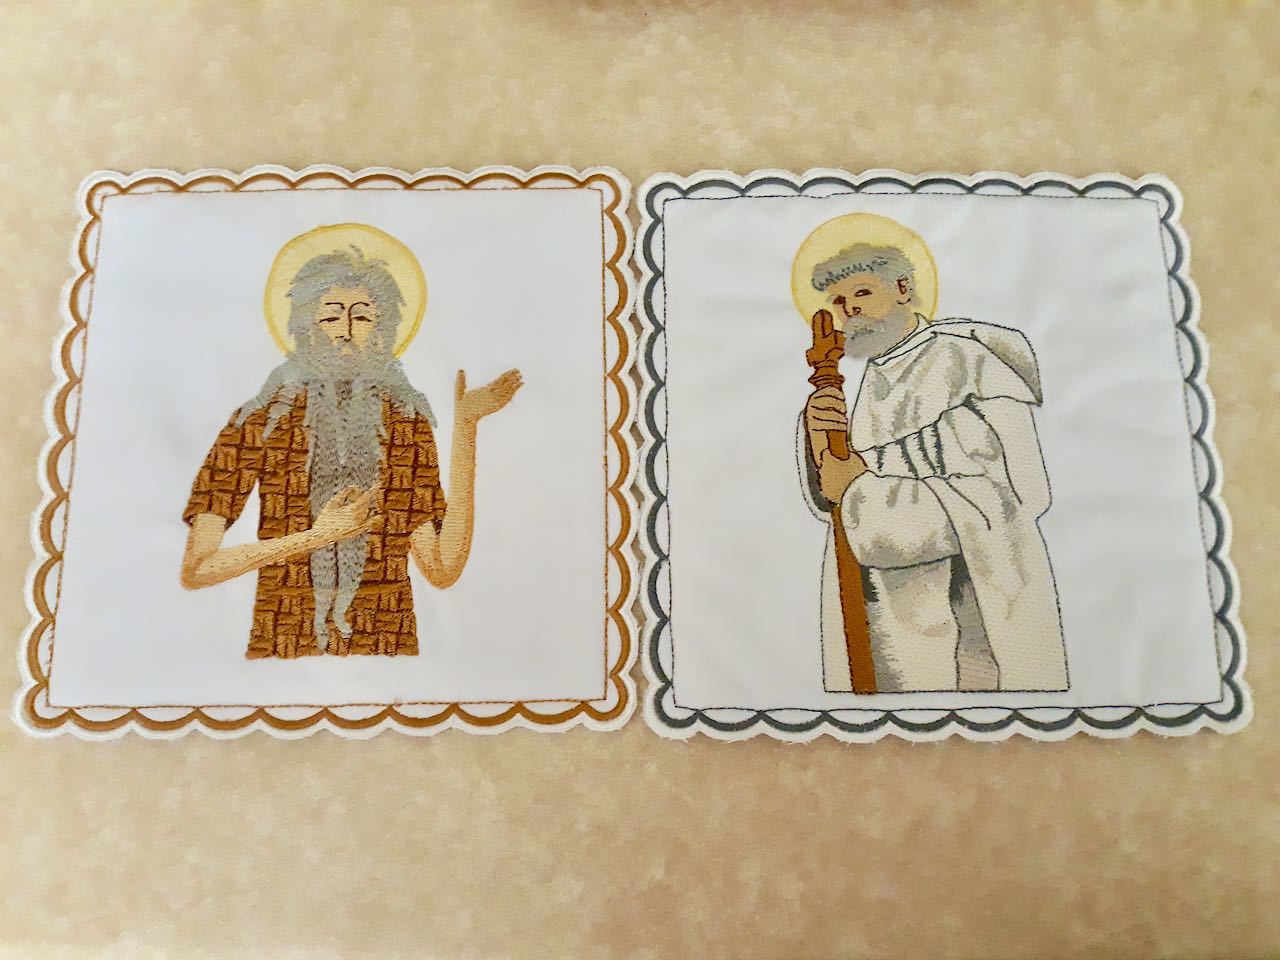
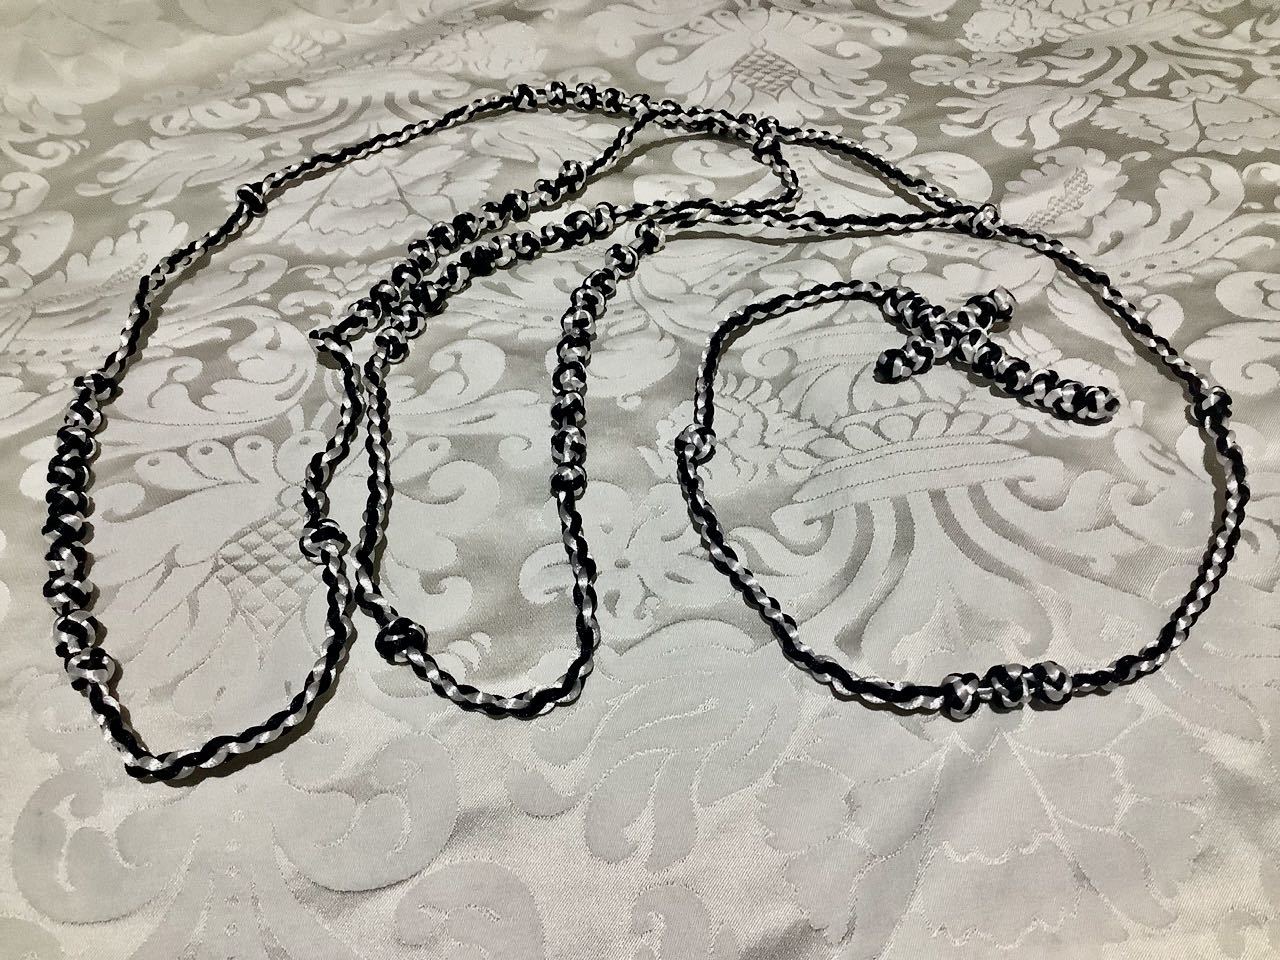
Work in Progress Photos
I should have taken more photos as I was going. I will try and do that when I finish it. There should be five of everything in the end, but for now, I have four chalice veils, three burses and two maniples done. I will finish it off next time I am at my parent’s.