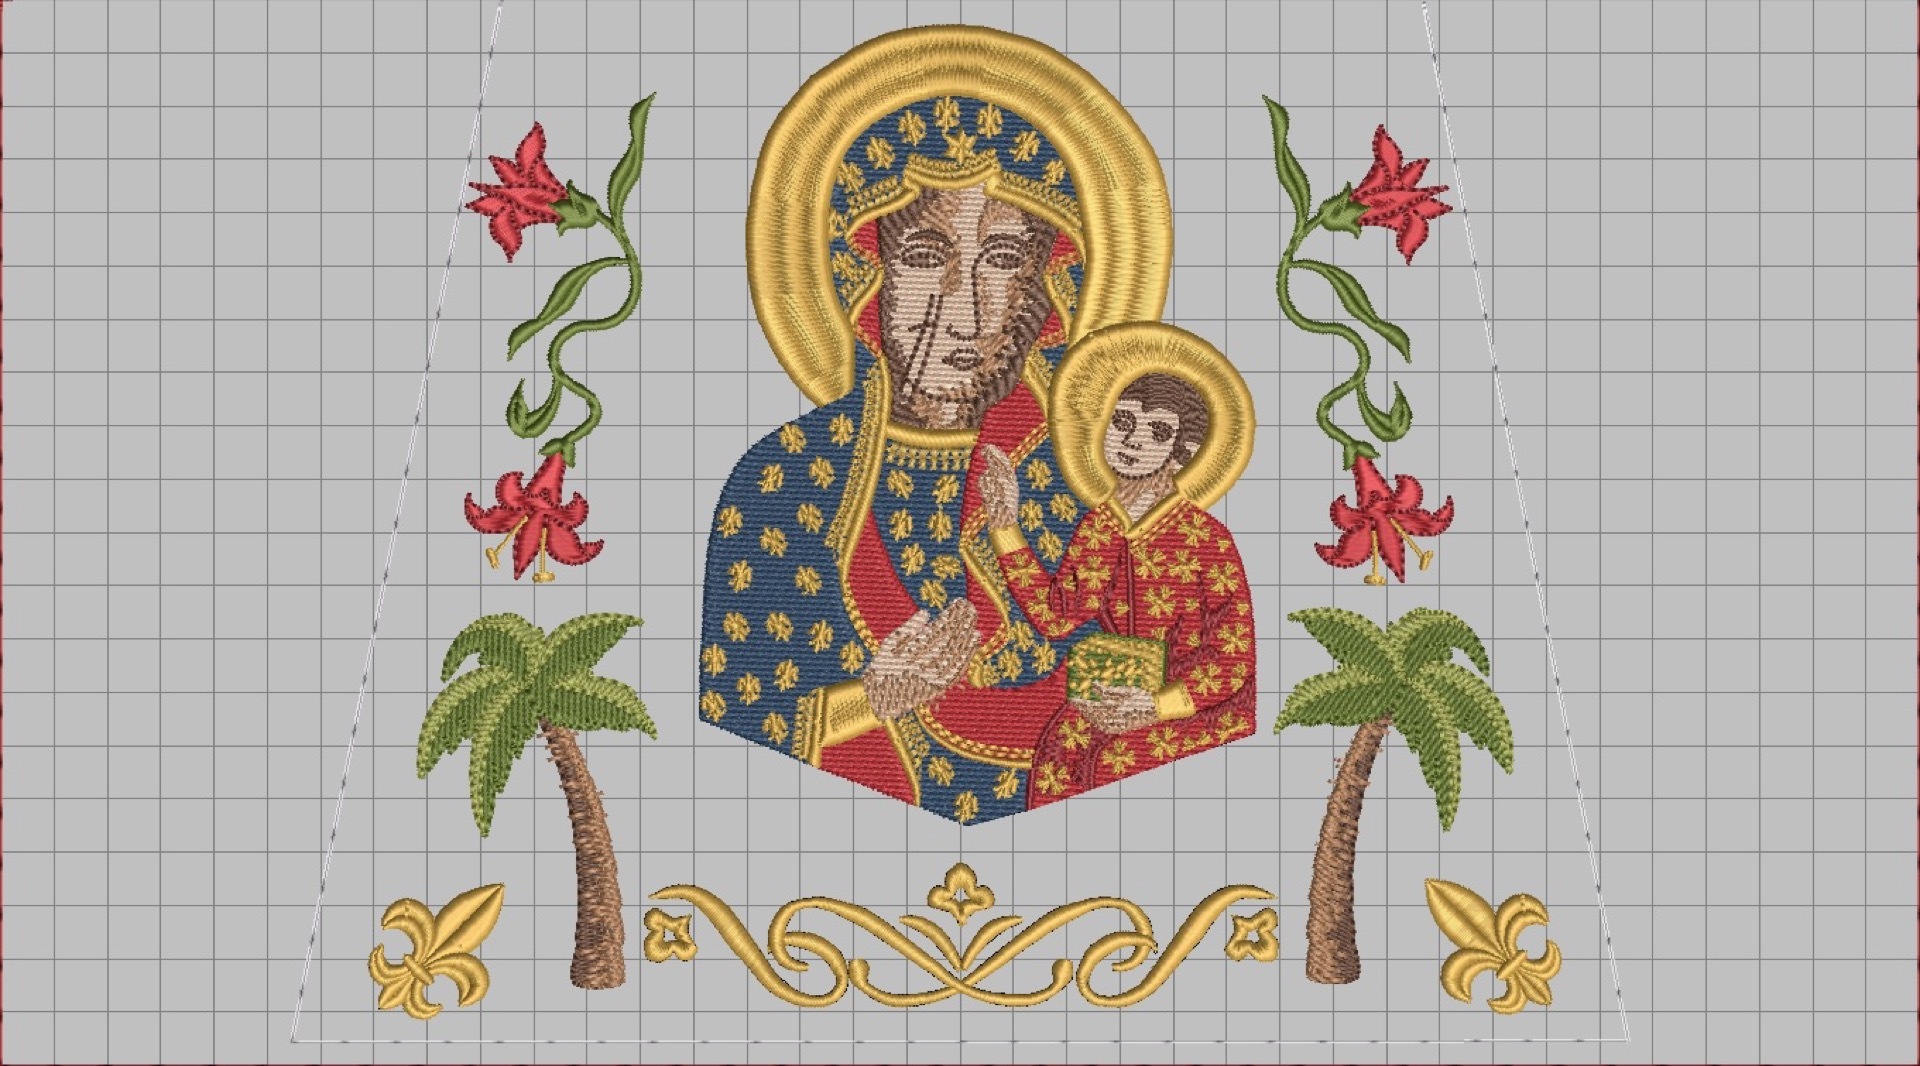
I am soon looking to create some Embroidered Stoles. So far, I have finished the design work. Here are the computer renders of the embroidery.
And here are each of the parts once they have been separated into each section, which is sized for the largest hoop I have.
Will report back with the finished results once I have stitched this out. The plan is to make the stoles out of the velvet I used for the chasubles I posted about recently.
It has been way too long since I posted here. Not because I have not done anything I could, but for other reasons. I am going to try now to catch up on sharing.
Today’s post is about my project of making custom embroidered chasubles. I shared the first images of this on the Facebook page quite some time ago. I have now finished two sets of these Chasubles; the first is a less solemn version, which you can see below.
I have finished 4 of these now. Personally, I felt it was a great achievement after having, over the past few years, tested and stitched out the patterns then go back to the design tool to edit them all over again to get what I wanted. There have been many iterations of each design with continued little edits.
These, though, were just a stepping stone towards what I finally wanted, which was a solemn set for the celebrations of the different feasts that are very important to the Order of St. Paul the First Hermit.
I started with these Chasubles from Gruppo Liturgico: https://www.gruppoliturgico.com/en/prodotto/chasuble-39/ and then started embroidering onto white upholstery velvet (only non-stretch velvet I could find). And with some help from a friend, I was able to sow it all together. Images below, which I will leave the reader to judge.
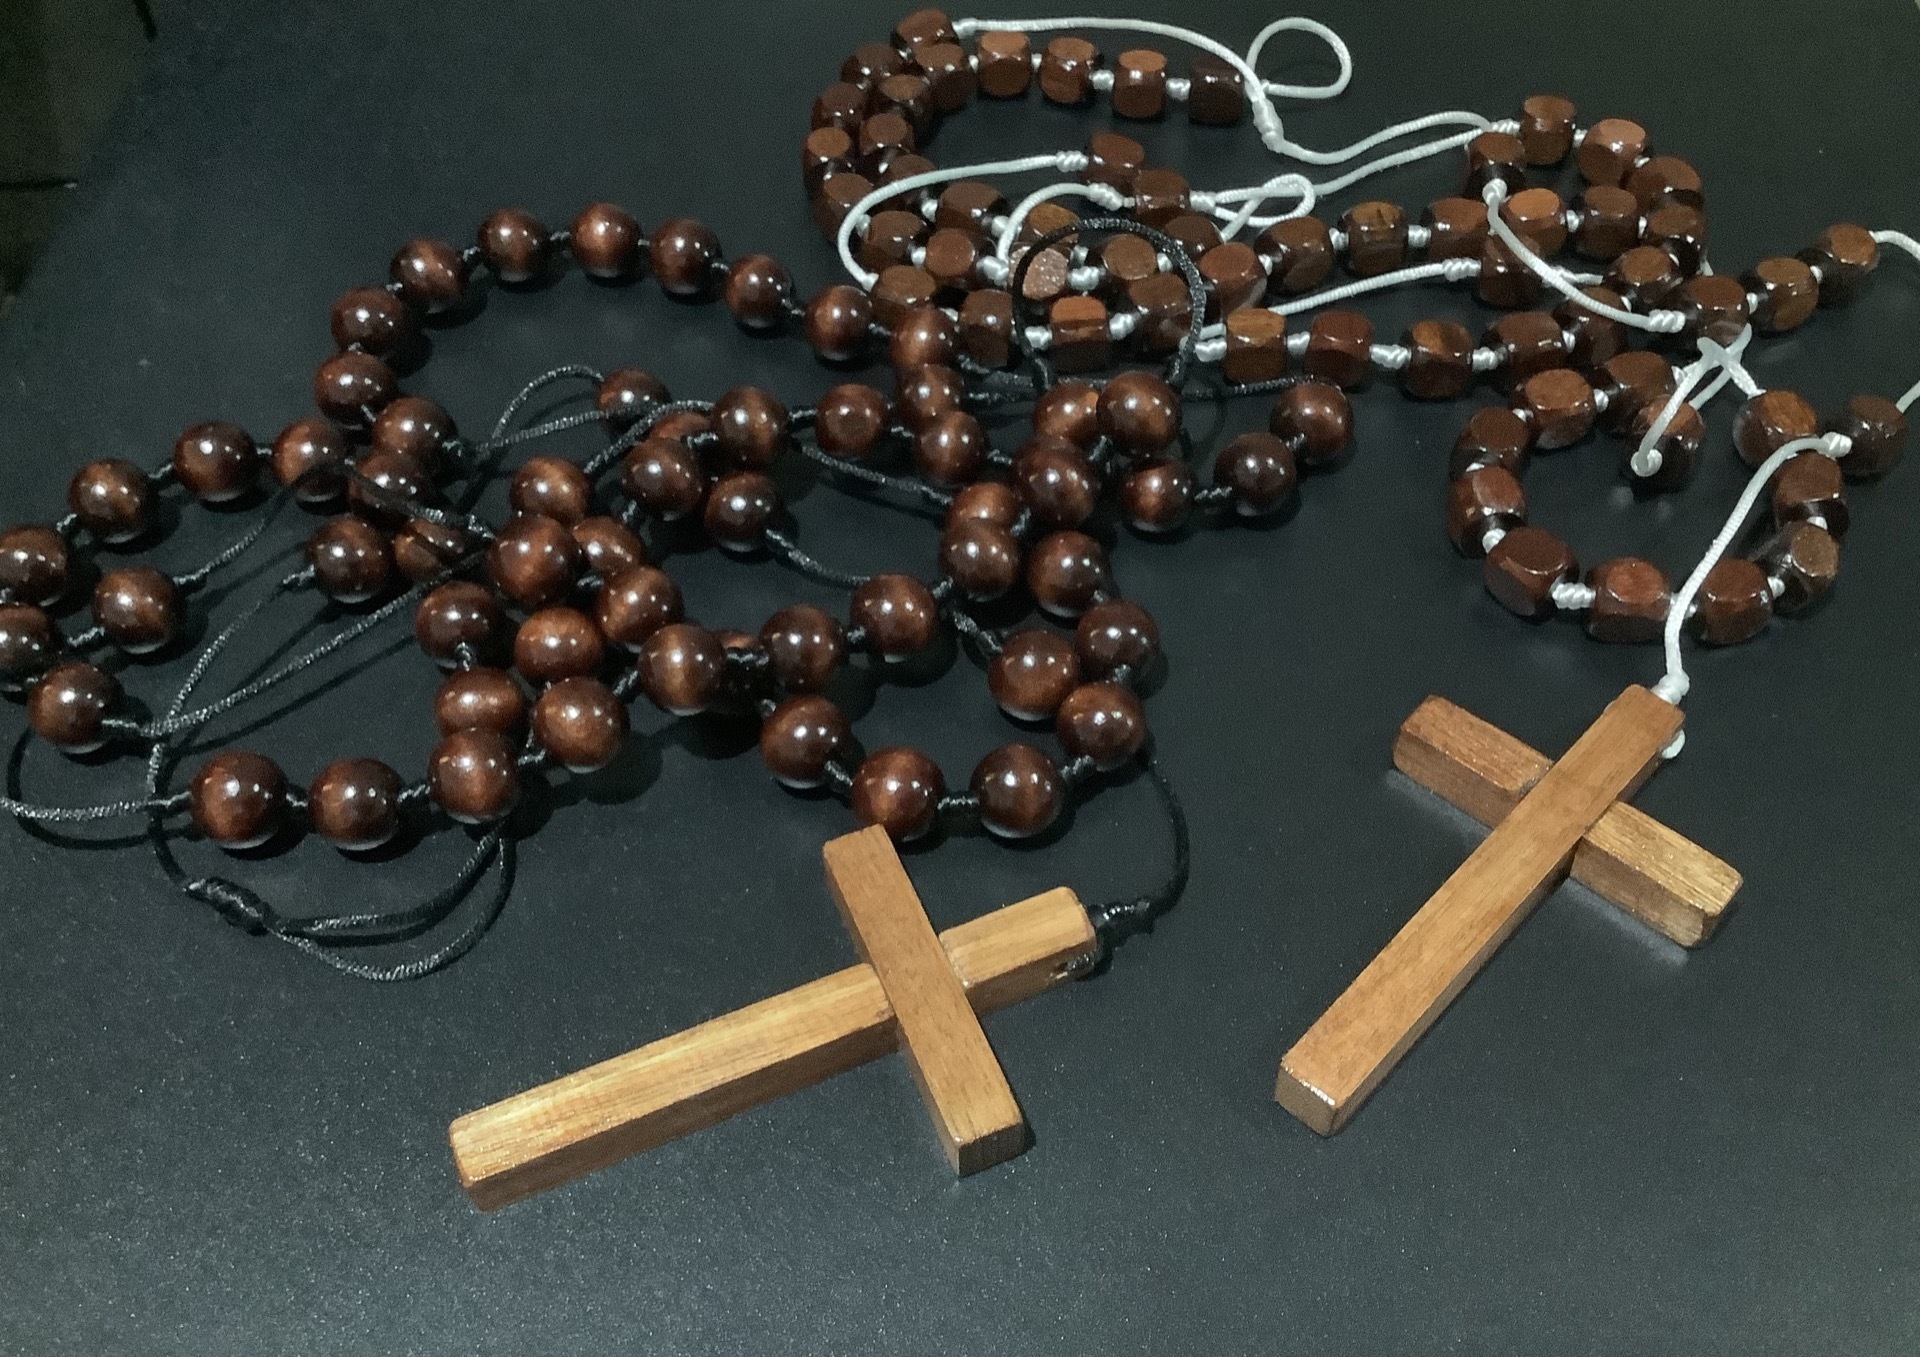
Been making rosaries to be used with a religious habit again. For them, I use beads that are typically 16-20mm in size, tied on code. Personally, I prefer to wear rosaries made from cord rather than chain for a few reasons. The most important is that they are less likely to break, though if they do, they can’t be repaired.
All materials and tools for the Rosaries
This is everything I need to make two pairs. Two packets of beads, two crosses, and the cord along with the super glue to seal the knots at the end. The staw (actually a balloon stick) can be used to help do the knots once a slot has been cut into one end. I did not show myself using it in the photos as it was too hard to take the photos while holding it. It is, however, easier and faster than using just figures.
A single rosary needs 5-7m of cord, depending on the size of the beads and how many times the cord is wrapped around when doing the knots.
Tying the knot, start by wrapping around finger.Tying the knot, start by wrapping around finger.Pull through the knot
To create the knots that I am using for these rosaries, you need to wrap the cord around a finger and over the top of itself, working up the finger. Then you pop the knot off and push the cord down through the loops you have just created. If you did it right, it means the ends of the cord will be coming out opposite sides of the loops.
Finished knots around a beadFinished decade.
Once you have one done, it is just a matter of repeating until all the beads are secured into place.
Been working on again the English Translation of the Liturgical texts for the Order of St. Paul the First Hermit after receiving a list of corrections needed before they can be approved for use. One of the changes requested was a need to change the hymn for the Office of Readings for the Feast of Bl. Eusebius because it was not a correct translation of the Latin. So went back and retranslated it, trying to make it so that it could also fit into a singable tune. I am not sure how well I went, but here it is.
Ad patrem nostrum canticum ascendat, viam ostendat quando eum cantemus, quomodo debet strepitum spernere, animum quaerere.
Vox eius ardet, et facit ardere, trahit in unum incolas eremi, ut flammae multae cumulantur unum, et magis ardeant.
O quam iucundum, quam bonum apparet, si cor multorum ducit vitam unam, preces unitas ad caelos dirigit, Dominum sic laudans.
Ordinis sic iam Regula sanctitur, ostendens nobis viam secuturam, non erimus nos oves aberrantes, pastori carentes.
Animam nostram, o Eusebi, duce, ad unitatem quomodo tendamus, et doce nobis simul contendere ad vias caelorum.
Pater Eusebi, ave paulinorum, precibus heros in solitudine, exemplum tuum faciat ardere et nos et patriam.
Flammae Beati Eusebii flagrant in nocte caeca monachis orphanis. Ad consolandum preces flammescantur fratrum monachorum.
Flos plebis nostrae, Sancti Paulini, orate nobis apud Deum Patrem, cum acri prece Sancti Eusebii defendite plebem. Amen.
To our father, we raise a song let him show the way we sing how we should despise the world’s noise and seek silence in the spirit.
His voice burns and sets us afire, drawing the hermits together as many flames converge into one begin to burn so much brighter.
O how pleasant and good it is if many hearts lead one holy life prayers offered in unity to heaven that the Lord might be praised.
Showing us the way to follow He establishes a Rule so we will not be straying sheep without a shepherd to lead.
O Eusebius lead our souls to seek after unity and lead your sons to always strain towards the way to heaven.
Hail Eusebius our Father by prayer in solitude, your true paternal example is given to us to heed.
The bright flame of Eusebius in the night seeks orphaned monks to console with his burning prayers the brotherhood of holy monks.
Flower of our People, Saint Paul, offer to God the Father, ardent prayers with Eusebius defend your people. Amen.
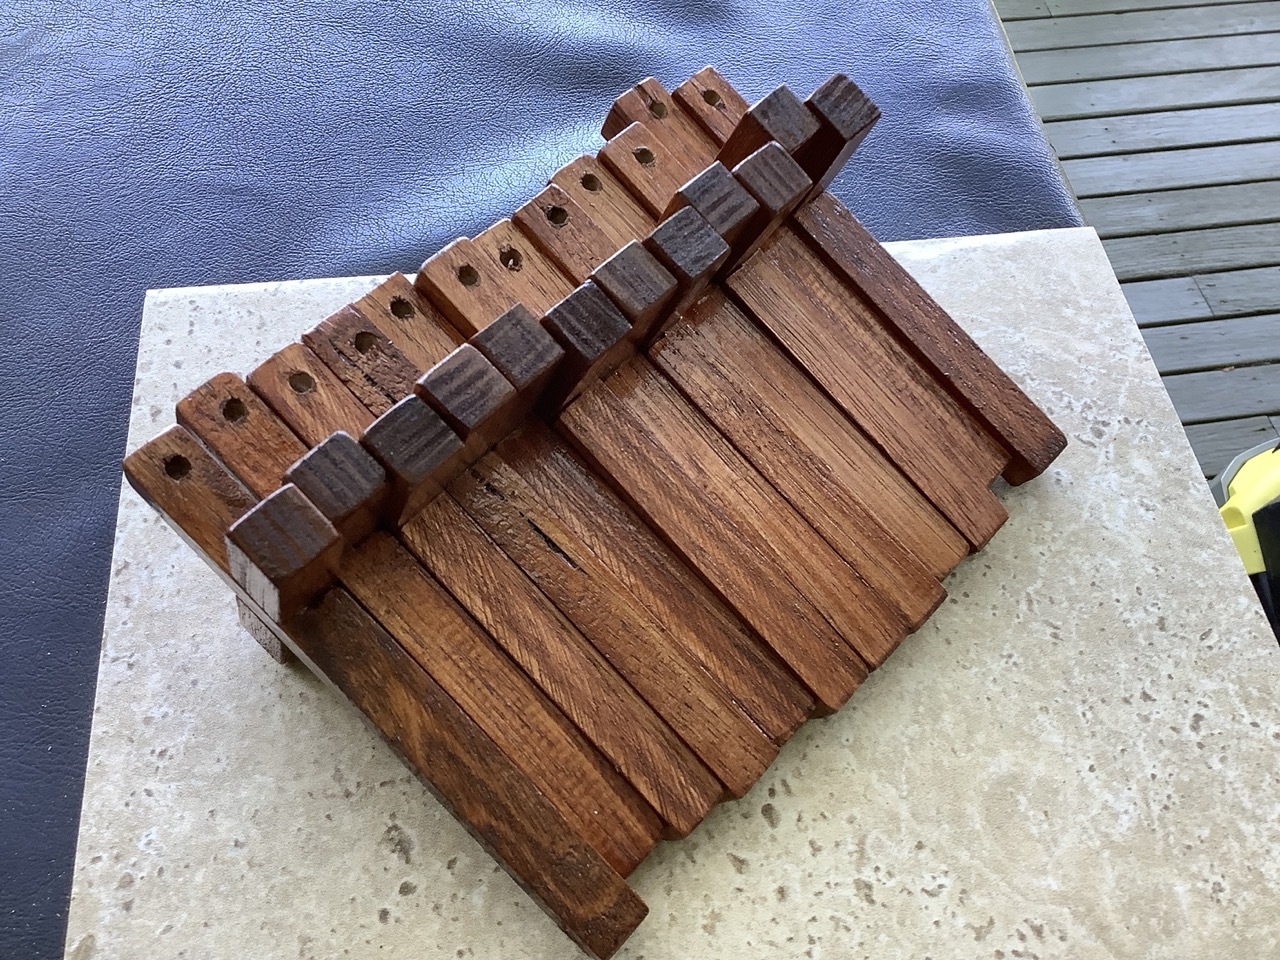
This Christmas manger is something I did before but just unpacked. It is made with recycled timber from old fence pailings that I sanded all the old paint off.
The goal when making it was to create a manger that needed no screws or nails to hold it together but could be assembled something like a jigsaw puzzle, and when taken apart, could be compactly stored away. Unfortunately, I did not take any photos as I was making it, so all I can show is the parts being put together.
Christmas manger in partsChristmas manger with just the ends togetherAlmost complete Christmas mangerComplete Christmas mangerComplete Christmas manger with baby JesusComplete Christmas manger with baby Jesus
I am at least very pleased with the result. It only fits together in one way, so I have numbered everything to find what pieces match together quickly. The cloth is just a bit of white calico on which I machine embroidered the Star of Bethlehem. For the straw, I am using wood wool from here. The Baby Jesus is from here.
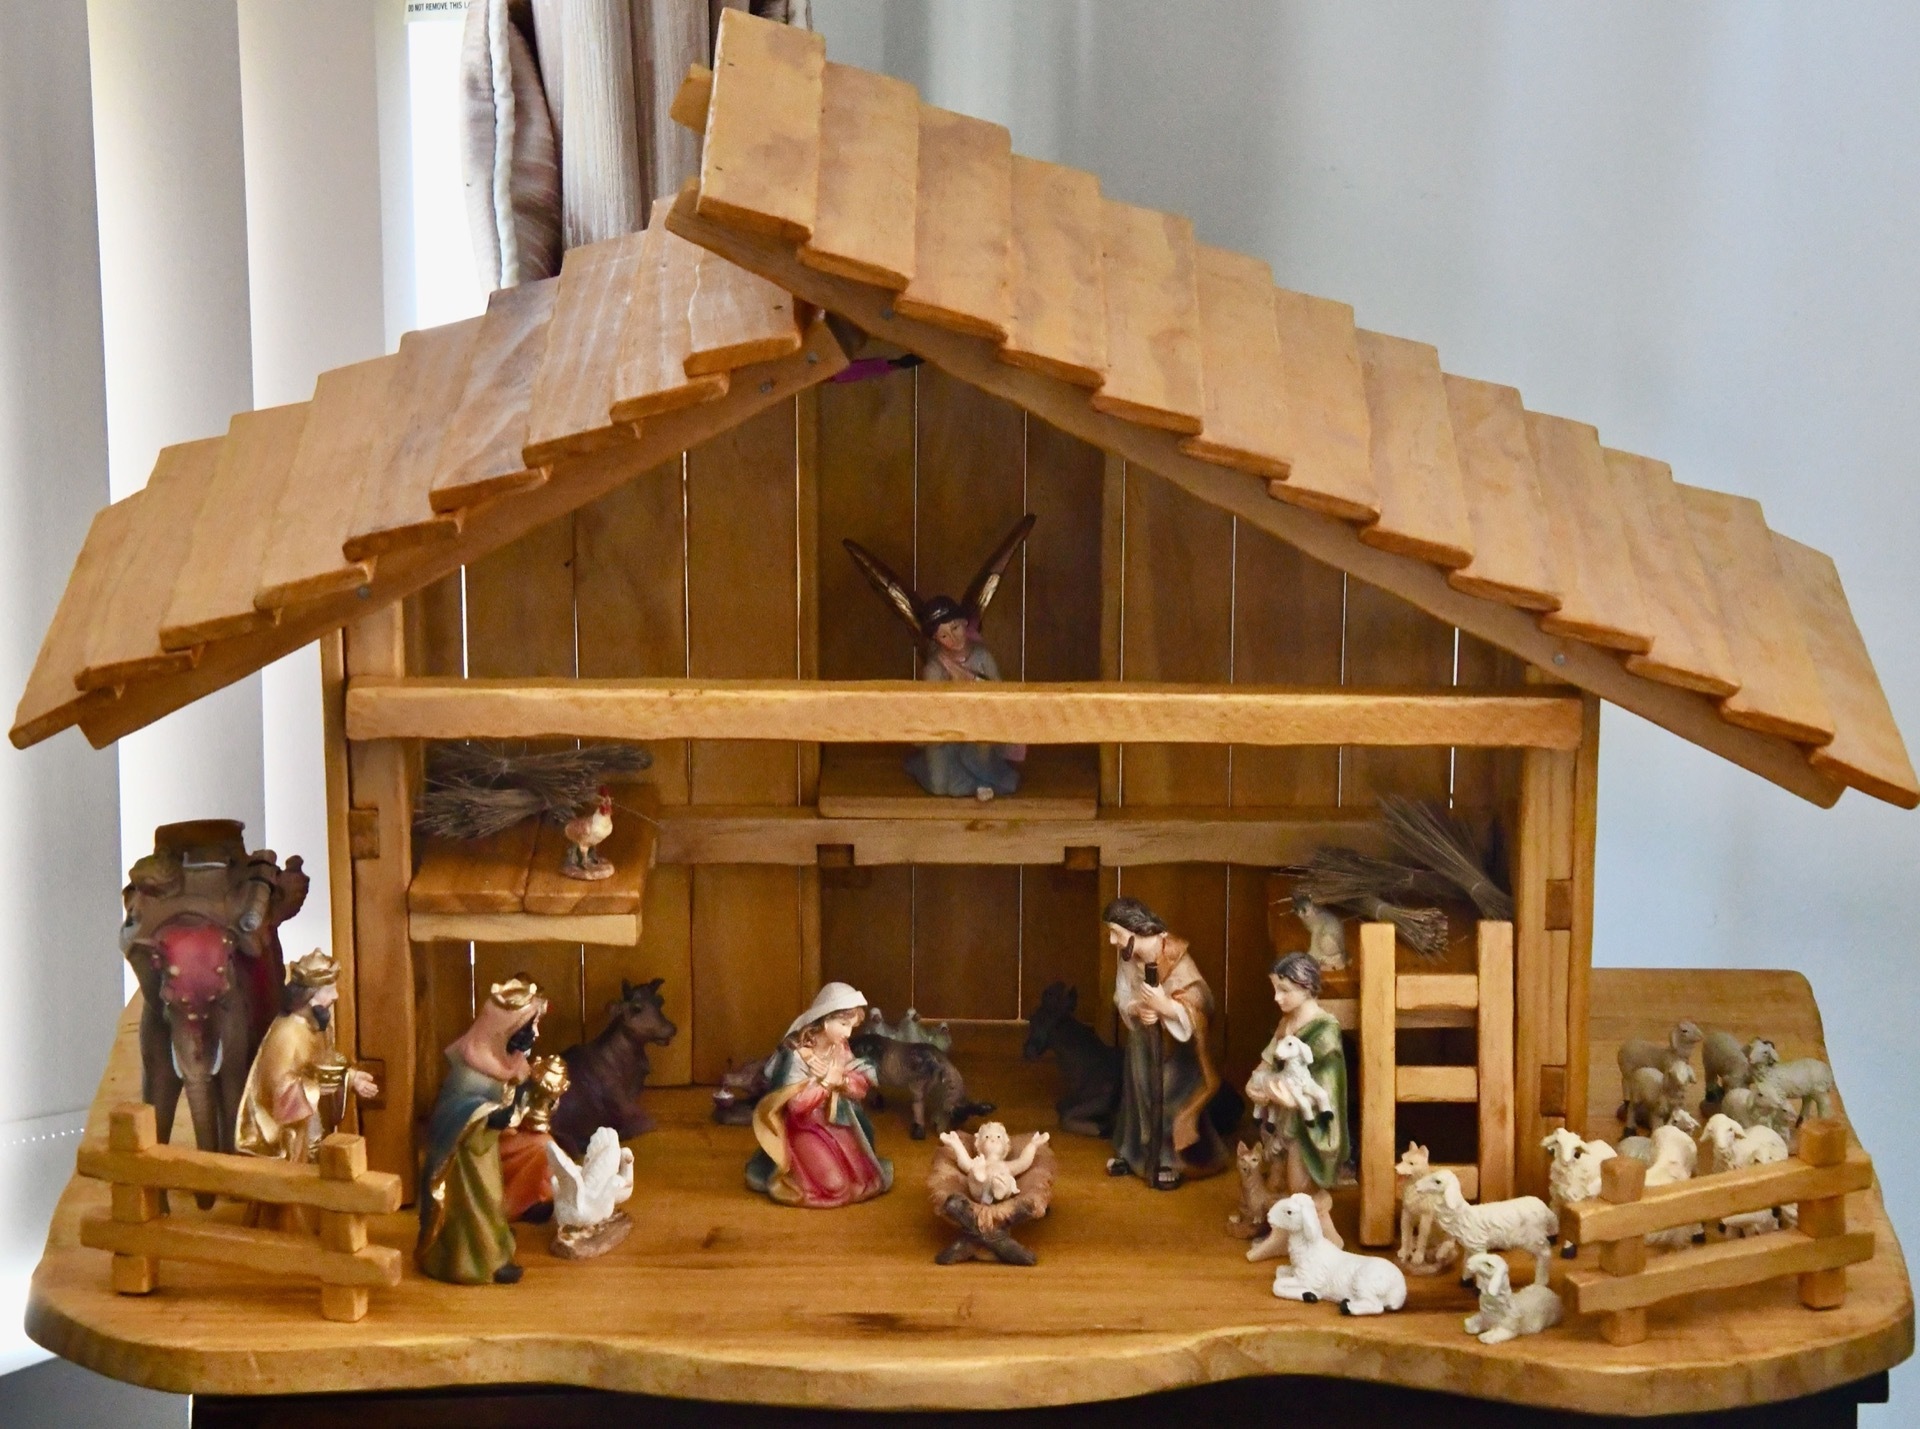
This is pulling out a project from a few years ago, a wooden Christmas Nativity Scene I made. With this project, I was aiming to make something easy to store during the year, so it has to be able to be quickly taken apart and put back together again, with most of the parts being somewhat flat.
This is not the first or last Christmas Nativity Scene I have made. The first was way back in high school and was much simpler, and the most recent was something like this but scaled up for use in a Parish Church. This, however, is by far my favourite.
The parts of the Nativity SceneNativity Scene Walls in PlaceNativity Scene with back alcove put togetherNativity Scene with back alcove in placeNativity Scene with roof and lights onNativity Scene with figures
The Nativity Scene is made from pine from the local hardware store. I did not have a pattern I was following, but I just guessed what I would need for what I wanted. I got very close using everything I brought, but I needed a few more pieces to finish the roof. After assembling the nativity scene, I stained it (I remember mixing a few different ones) and then oiled it with some outdoor furniture oil. For scale, it is 65cm wide, 40cm deep, and 40cm high.
All the parts lock together, so there is nothing to screw or unscrew to turn it from the parts to the full standing stable. There are also strips of LED lights attached to the roof.
The figures are the ones I got from here, with a few additions.
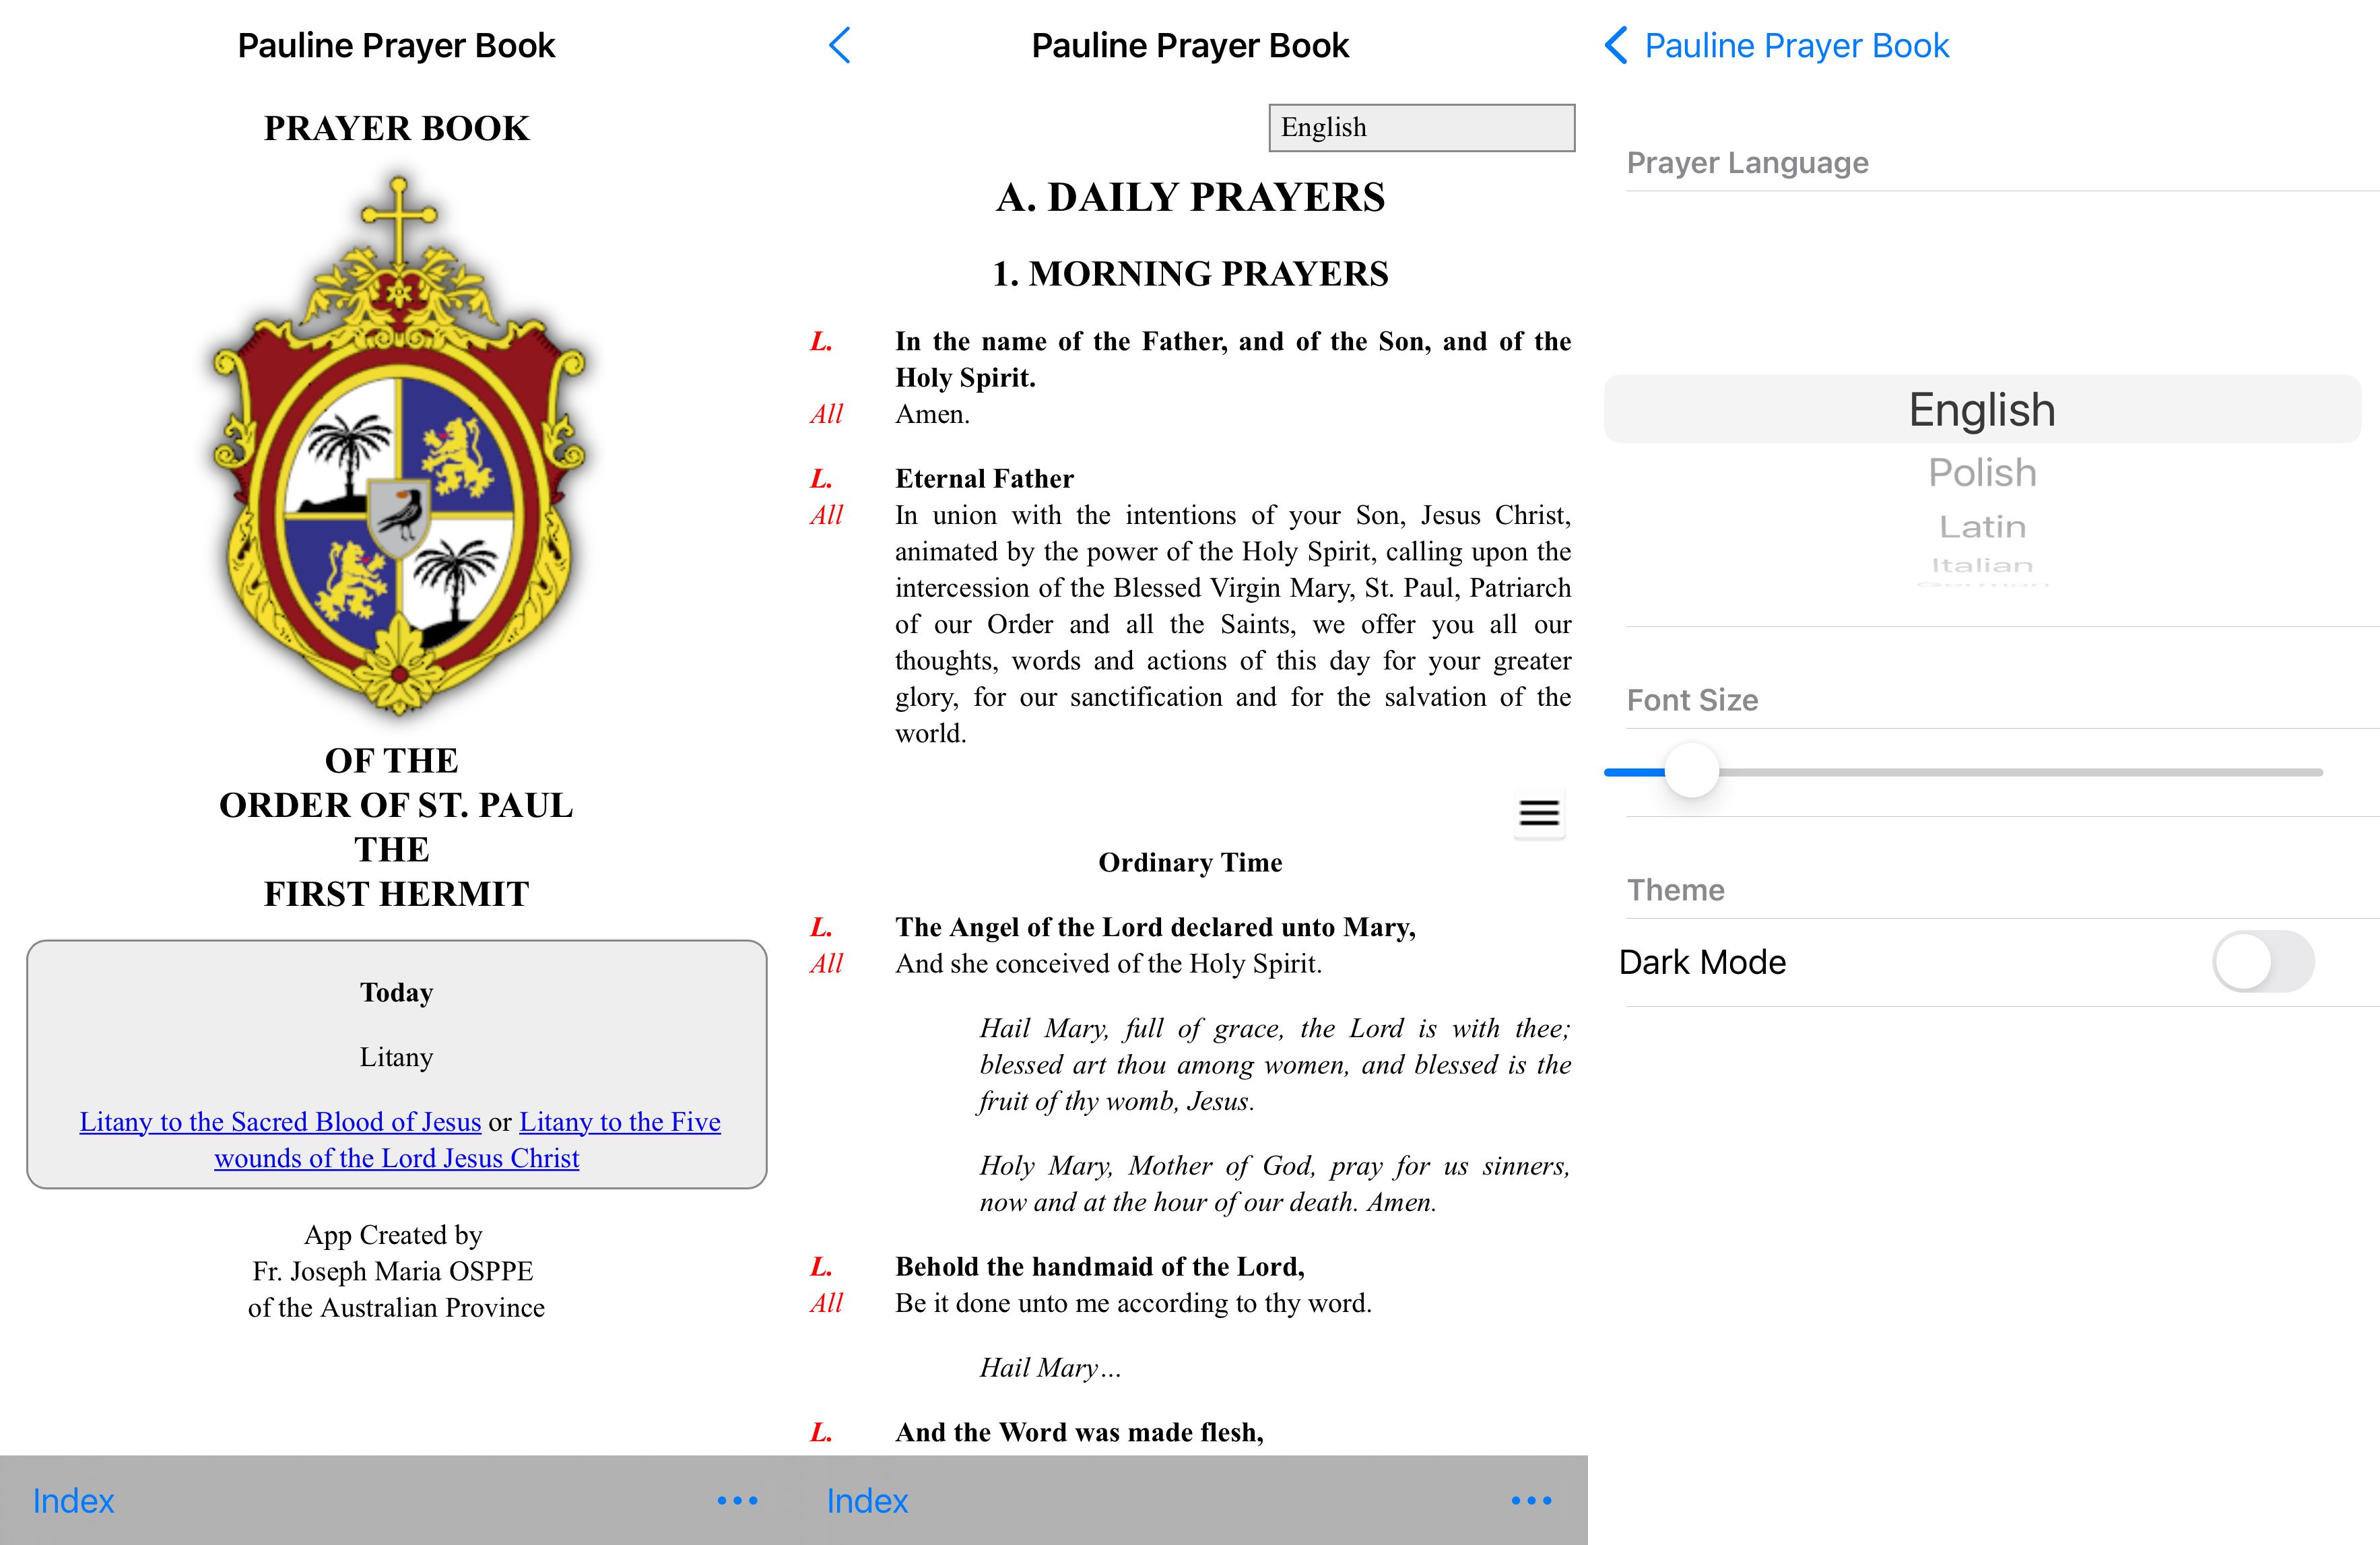
So this week, I got out updates for the Pauline Prayer Book App, which I first released in 2017. It contains the texts used by the Pauline Fathers in their Prayer Book (only this originally) but also the Mass and Divine Office texts, Constitutions and other things. Moreover, it has the texts to some degree of completeness in 8 languages (this update added French used by our fathers in Cameroon, Africa).
I don’t write the texts used in the app; I do have to program the app. I chose to do this twice, making independent versions for Android and iPhone. I also have to reformat all the texts as they are sent to me so they can be included.
I forget precisely what are all the changes went into this version, as I have been doing little bits here and there on and off. I added support for printing the texts to the iPhone version. The Liturgical Calendar also got integrated into the app in more ways. The Android version sends notifications for the liturgical feasts, I have not worked out how to do that on iPhone yet, so hopefully, that will be one for the next update.
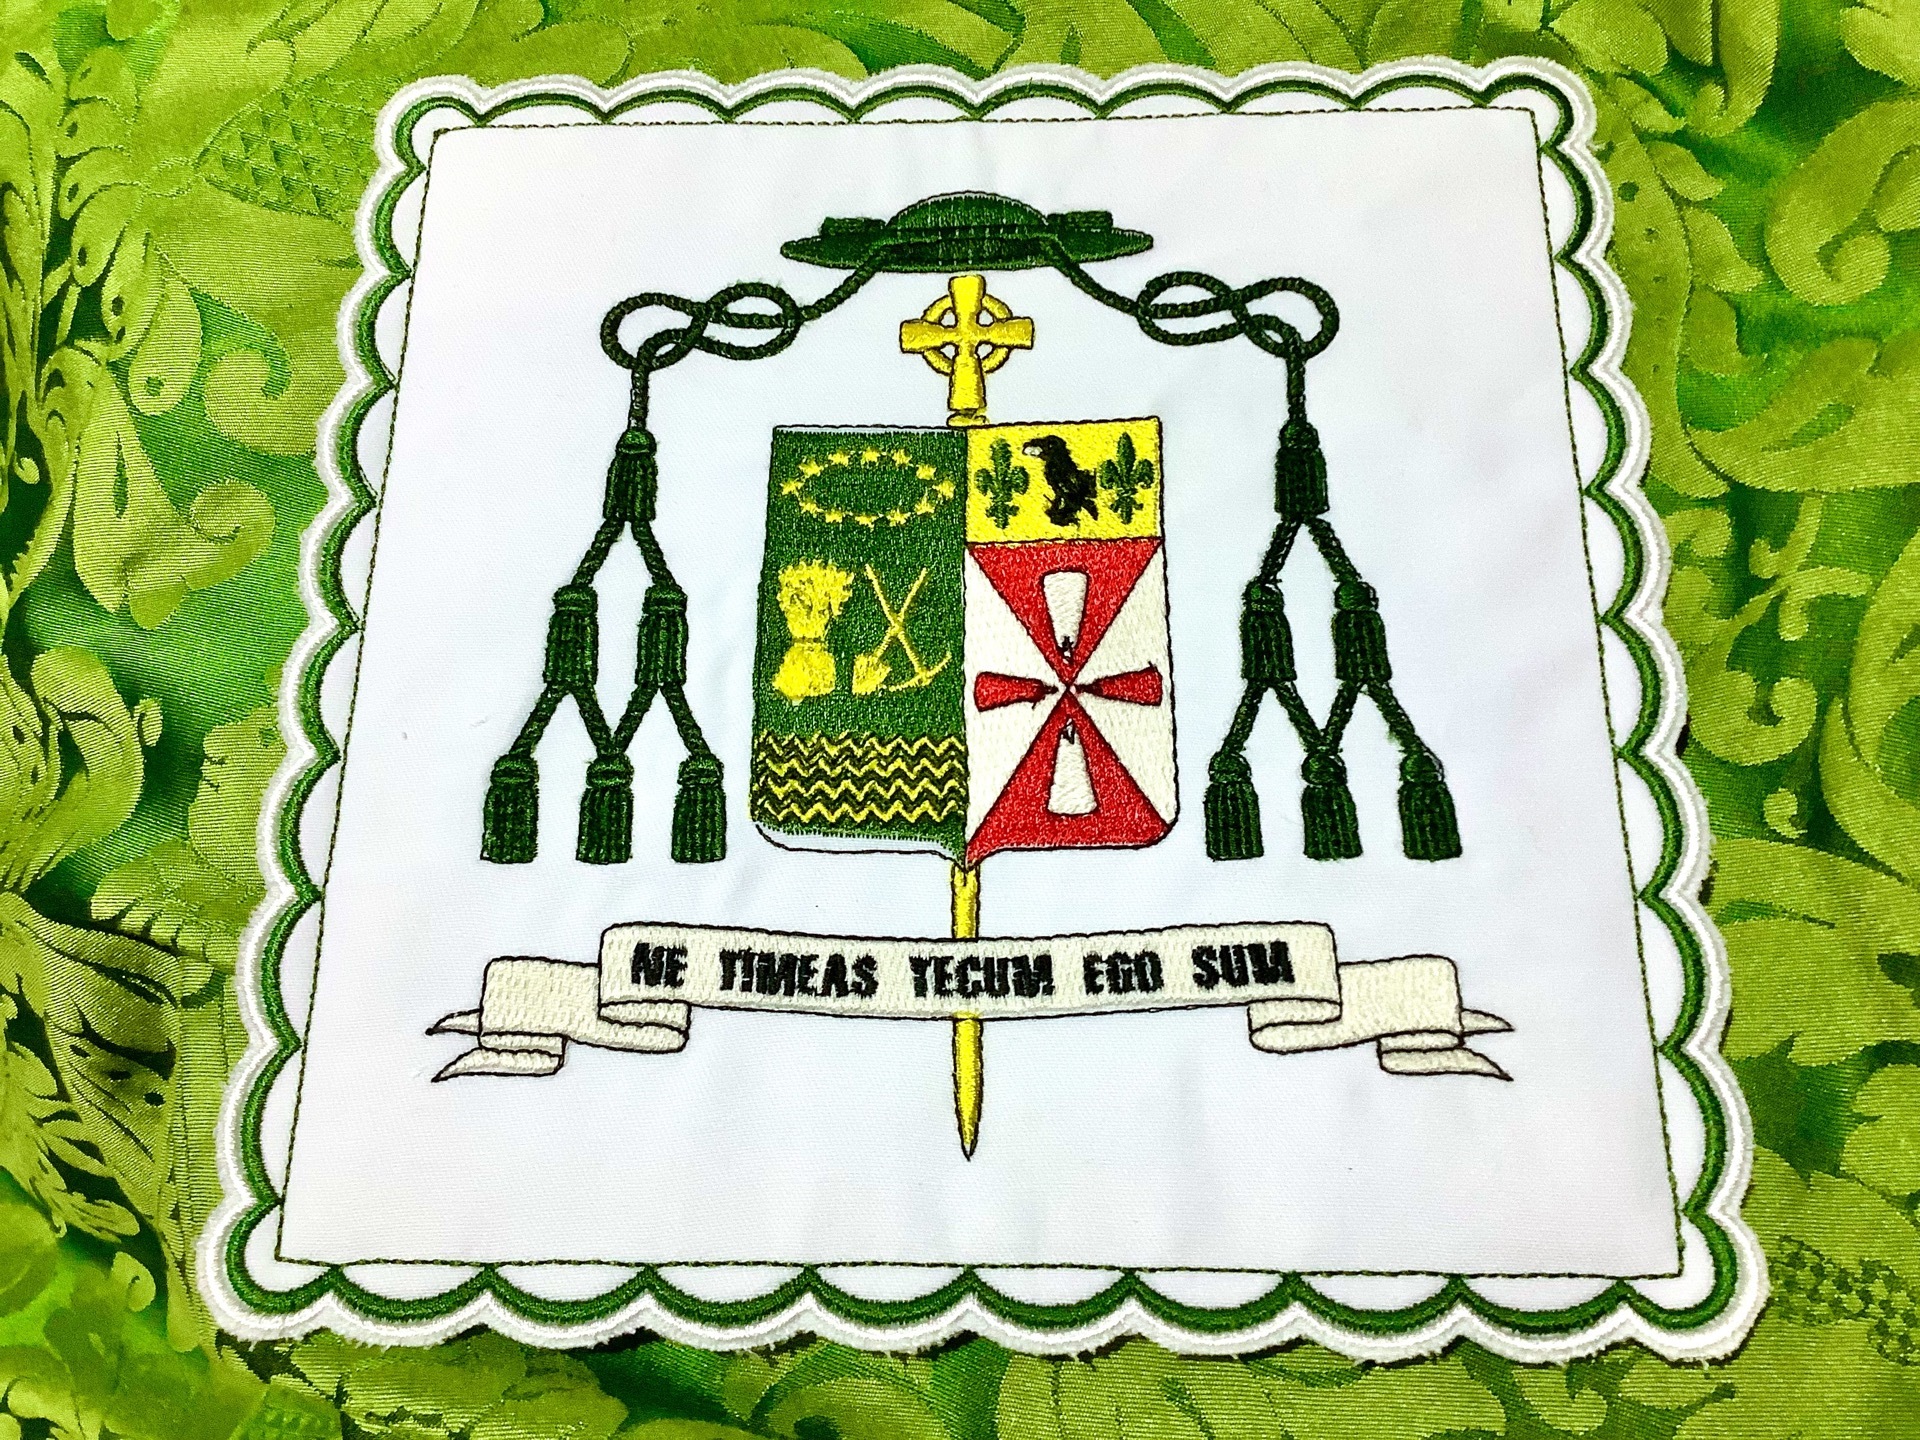
Another embroidery that I did this last week. This time at a friend’s request, it is a bishop’s coat of arms. This time I could start with a high-resolution image from Wikipedia.
Bishop’s Coat of Arms DesignBishop’s Coat of Arms Design RenderBishop’s Coat of Arms Stitched
Above you can see the original artwork, what the embroidery design program thinks it is going to turn out to be, and then the final stitched product.
A little work had to go in after the automatic digitization of the original design. It leaves a lot of holes in, for example, the green and yellow background, which can cause problems of too many tiny stitches or lack of alignment, so I filled those in. Some of the smaller details were probably not going to work, so I deleted some of them. I also spent a while reordering the objects, so they were stitched in a more sensible order, or otherwise, it spends all its time casting off and moving to another area.
Still not perfect; there is a gap between the green area and the black lines above and below it. One of those things I would forever notice, but others might ignore or not notice. I could allow more pull compensation to fix this – lots of stitches in one direction tend to pull the fabric in, even with a stabilizer behind it, so the object can be extended in that direction to counter. Or maybe try changing their direction a little to spread the pull more.
Will I do any of that? I don’t know yet. There might have been a brief discussion about a mitre.
I was taking photos at Marian Valley for their website, which I am updating. Not going to share those photos here, but while doing so, I took some of the other things that took my fancy. Here are a few of them.
Wildlife
Butcher BirdKookaburraWallabyRufus Whistler
I would have liked to get a few more good photos of some birds, particularly the Rufus Whistler (I had help working out what it was). But they don’t stay still very long. But getting a good bird shot would not be half so rewarding if they did.
The Waterfall and Creek
The Creek at Marian ValleyWaterfallWaterfall
I sat around for a while, taking photos of the little waterfall at different shutter speeds. You can see the difference in the effect if you compare the two images.
The Landscape
The forest around the walking trailThe forest around the walking trailView from the top of the Mountain
The walking trail around the place has a view at the top that is worth the climb, and the way down the forest that I was walking through is beautiful.
Plants
BromeliadsBromeliadsBromeliadsFungusStaghorn fern
Just a few plants (I know fungi are not plants) that were good-natured enough, unlike the birds, to stay still while I took photos of them.
Again another project was done during a short holiday at the parent’s. This time I made some wooden crosses that I will use when I make some large rosaries that could be worn with a habit.
Not much to this, just cutting up some 12x12mm Tasmanian Oak and doing a simple join between them.
All the pieces being put togetherCutting out the joinThe two parts of the CrossThe two parts of the CrossIn the box for cuttingWorking on making the JoinsWorking on making the JoinsTwelve Crosses MadeStrung up for painting
It could have been a little tidier if I was not using a full-sized Tenon saw and had something smaller, but it is what I had. I did the first few, one at a time, but then started cutting them out in batches of four. I used a Mahogany stain on them at the end with a coat of varnish.
When I use these crosses, they will appear again in a future post.
A simple project, but I needed them for the next part. However, I have done other things before that had a little more to them, such as a box for a chalice and a book stand, which I will share the photos of here. I also got some Christmas-themed things I did, but I am saving them to share in December. Next time I am on holiday, I want to try making a prie-dieu/kneeler.