Bishop's Coat of Arms

Embroidering a Bishop’s Coat of Arms

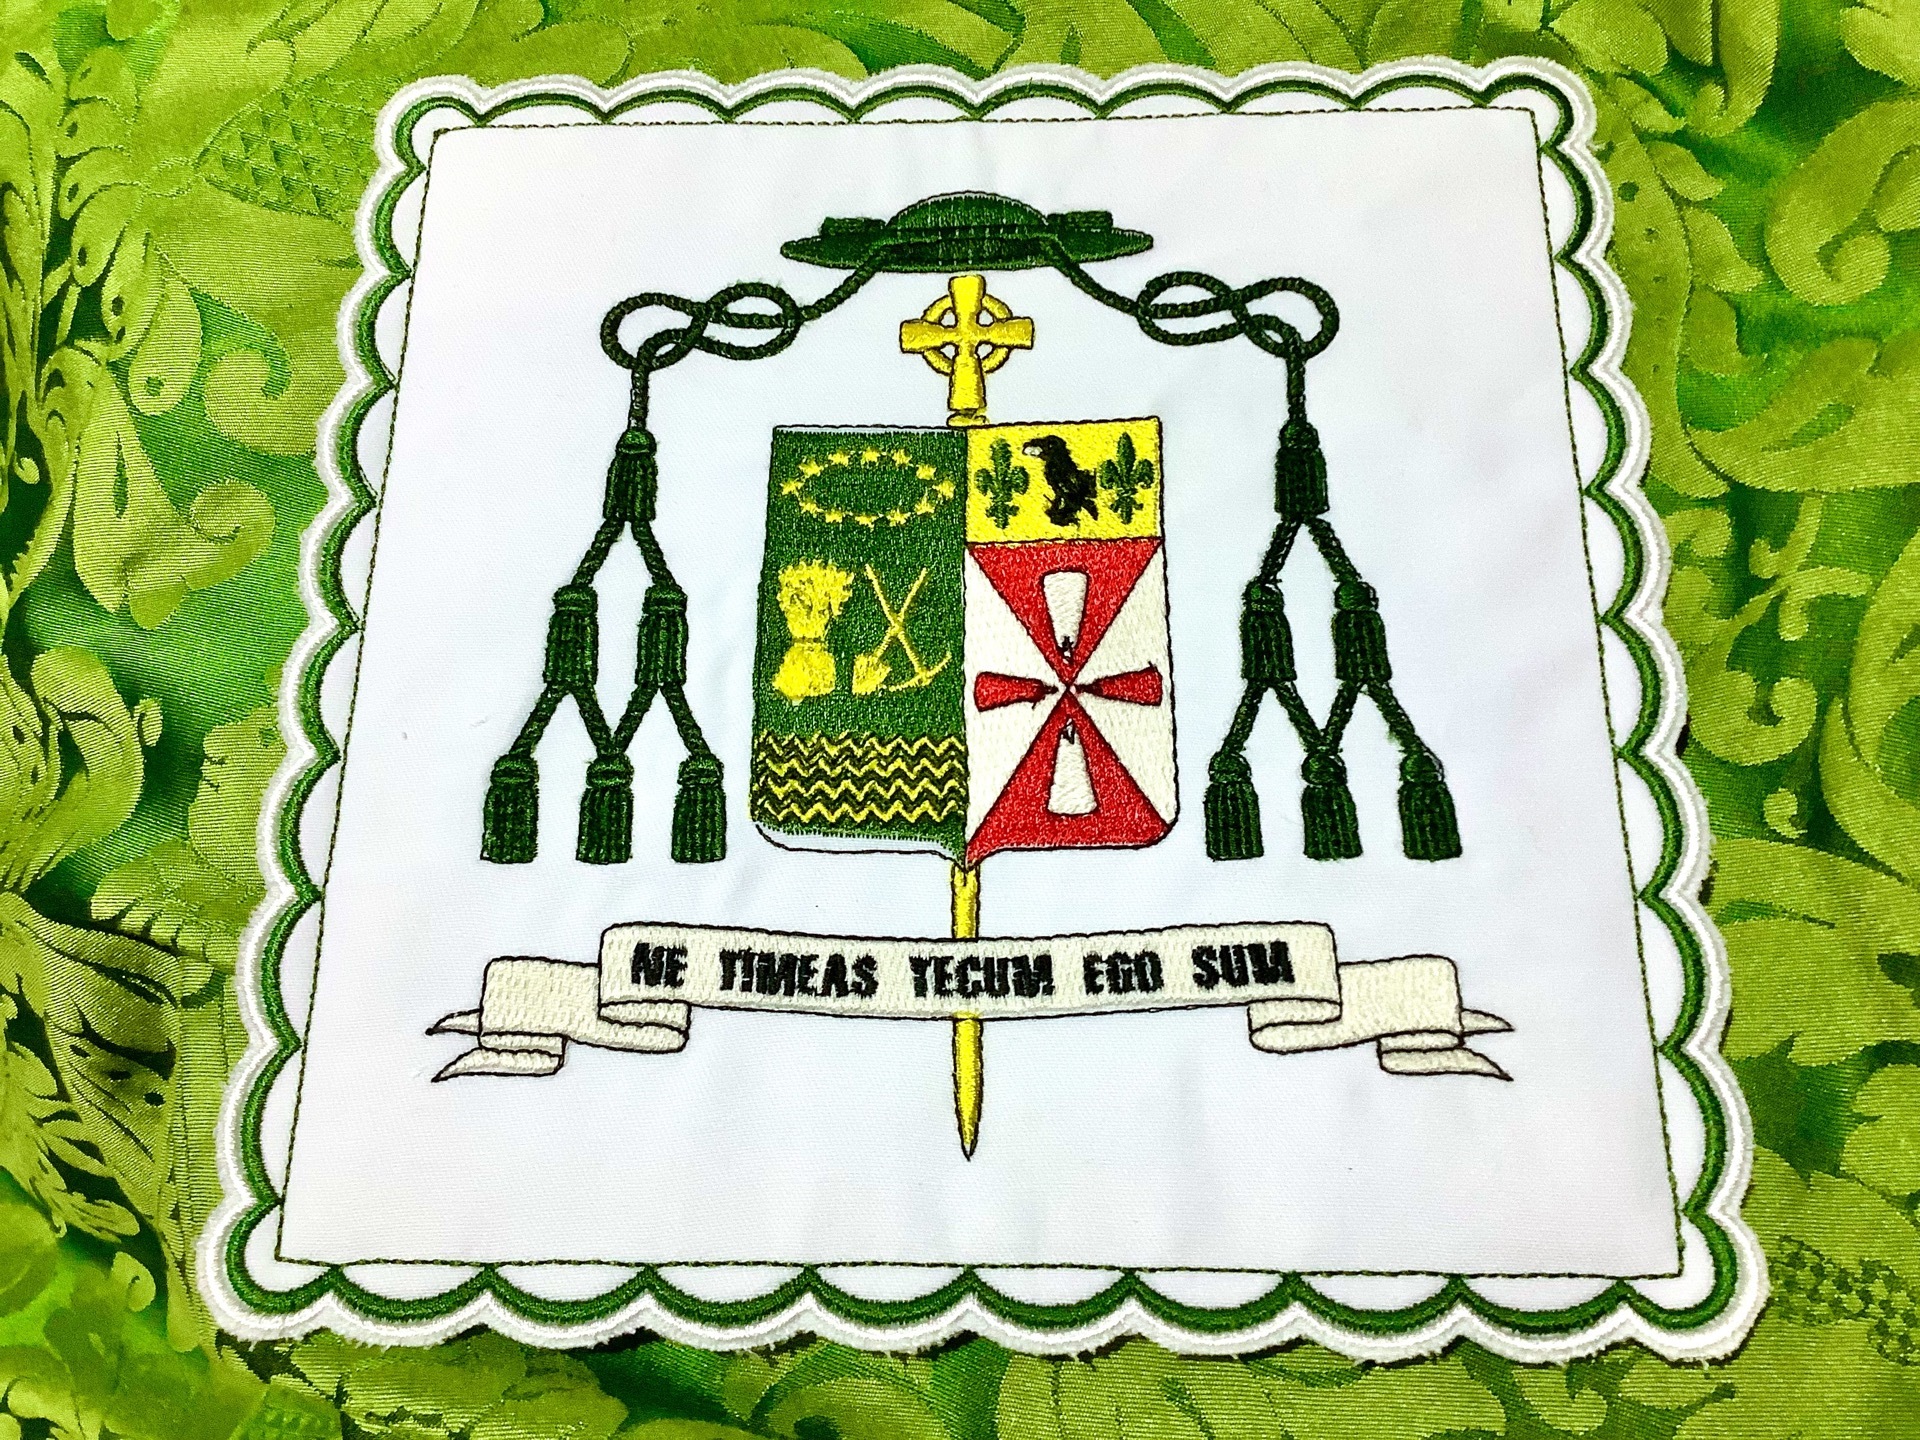
Another embroidery that I did this last week. This time at a friend’s request, it is a bishop’s coat of arms. This time I could start with a high-resolution image from Wikipedia.

Above you can see the original artwork, what the embroidery design program thinks it is going to turn out to be, and then the final stitched product.

A little work had to go in after the automatic digitization of the original design. It leaves a lot of holes in, for example, the green and yellow background, which can cause problems of too many tiny stitches or lack of alignment, so I filled those in. Some of the smaller details were probably not going to work, so I deleted some of them. I also spent a while reordering the objects, so they were stitched in a more sensible order, or otherwise, it spends all its time casting off and moving to another area.

Still not perfect; there is a gap between the green area and the black lines above and below it. One of those things I would forever notice, but others might ignore or not notice. I could allow more pull compensation to fix this – lots of stitches in one direction tend to pull the fabric in, even with a stabilizer behind it, so the object can be extended in that direction to counter. Or maybe try changing their direction a little to spread the pull more.

Will I do any of that? I don’t know yet. There might have been a brief discussion about a mitre.

Rufus Whistler

Photos around Marian Valley

I was taking photos at Marian Valley for their website, which I am updating. Not going to share those photos here, but while doing so, I took some of the other things that took my fancy. Here are a few of them.

Wildlife

I would have liked to get a few more good photos of some birds, particularly the Rufus Whistler (I had help working out what it was). But they don’t stay still very long. But getting a good bird shot would not be half so rewarding if they did.

The Waterfall and Creek

I sat around for a while, taking photos of the little waterfall at different shutter speeds. You can see the difference in the effect if you compare the two images.

The Landscape

The walking trail around the place has a view at the top that is worth the climb, and the way down the forest that I was walking through is beautiful.

Plants

Just a few plants (I know fungi are not plants) that were good-natured enough, unlike the birds, to stay still while I took photos of them.

Simple Wooden Crosses

Some Simple Woodwork

Again another project was done during a short holiday at the parent’s. This time I made some wooden crosses that I will use when I make some large rosaries that could be worn with a habit.

Not much to this, just cutting up some 12x12mm Tasmanian Oak and doing a simple join between them.

It could have been a little tidier if I was not using a full-sized Tenon saw and had something smaller, but it is what I had. I did the first few, one at a time, but then started cutting them out in batches of four. I used a Mahogany stain on them at the end with a coat of varnish.

When I use these crosses, they will appear again in a future post.

A simple project, but I needed them for the next part. However, I have done other things before that had a little more to them, such as a box for a chalice and a book stand, which I will share the photos of here. I also got some Christmas-themed things I did, but I am saving them to share in December. Next time I am on holiday, I want to try making a prie-dieu/kneeler.

Progress so far on the chalice viels, burse and manipals

Learning to make some vestments

So, here I am, just wanting to experiment with making vestments. It would have been much less work and cheaper to buy the stuff. But I was looking for an excuse right now. So at my parents, I keep a set of vestments, but they are only chasuble and stole, which will not do for a Latin Mass. So looking to make the burse (a rigid case that holds the corporal and goes on top of the chalice), chalice veil and maniple (kind of like a mini stole warn on the priest’s arm).

The Materials for the Vestments

Materials for making some Vestments

On the bottom left, I have the primary materials in each of the four colours. Then in the middle, the orphreys are also in the four colours, plus a blue (Marian) one. Bottom right is the perplex that I put inside the burse with some white calico to line it. Then the top right is the liner for the back of everything.

The chalice veil was easy to make, much like making a simple square pillow but putting nothing in it. There is nothing overly complex about the maniple either. The burse was a little more complicated. It took a while of looking at the one I brought to work out how it was put together. It seemed that the first thing was to line the perplex, and it was easiest to make something with two pockets into which the perplex could be pushed. The outside was also a little tricky. Trying to get the two wedges on the sides that let it open, but only wide enough to slip a corporal inside, was fiddly. It also had to be hand sewn on.

Work in Progress Photos

I should have taken more photos as I was going. I will try and do that when I finish it. There should be five of everything in the end, but for now, I have four chalice veils, three burses and two maniples done. I will finish it off next time I am at my parent’s.