This Christmas manger is something I did before but just unpacked. It is made with recycled timber from old fence pailings that I sanded all the old paint off.
The goal when making it was to create a manger that needed no screws or nails to hold it together but could be assembled something like a jigsaw puzzle, and when taken apart, could be compactly stored away. Unfortunately, I did not take any photos as I was making it, so all I can show is the parts being put together.
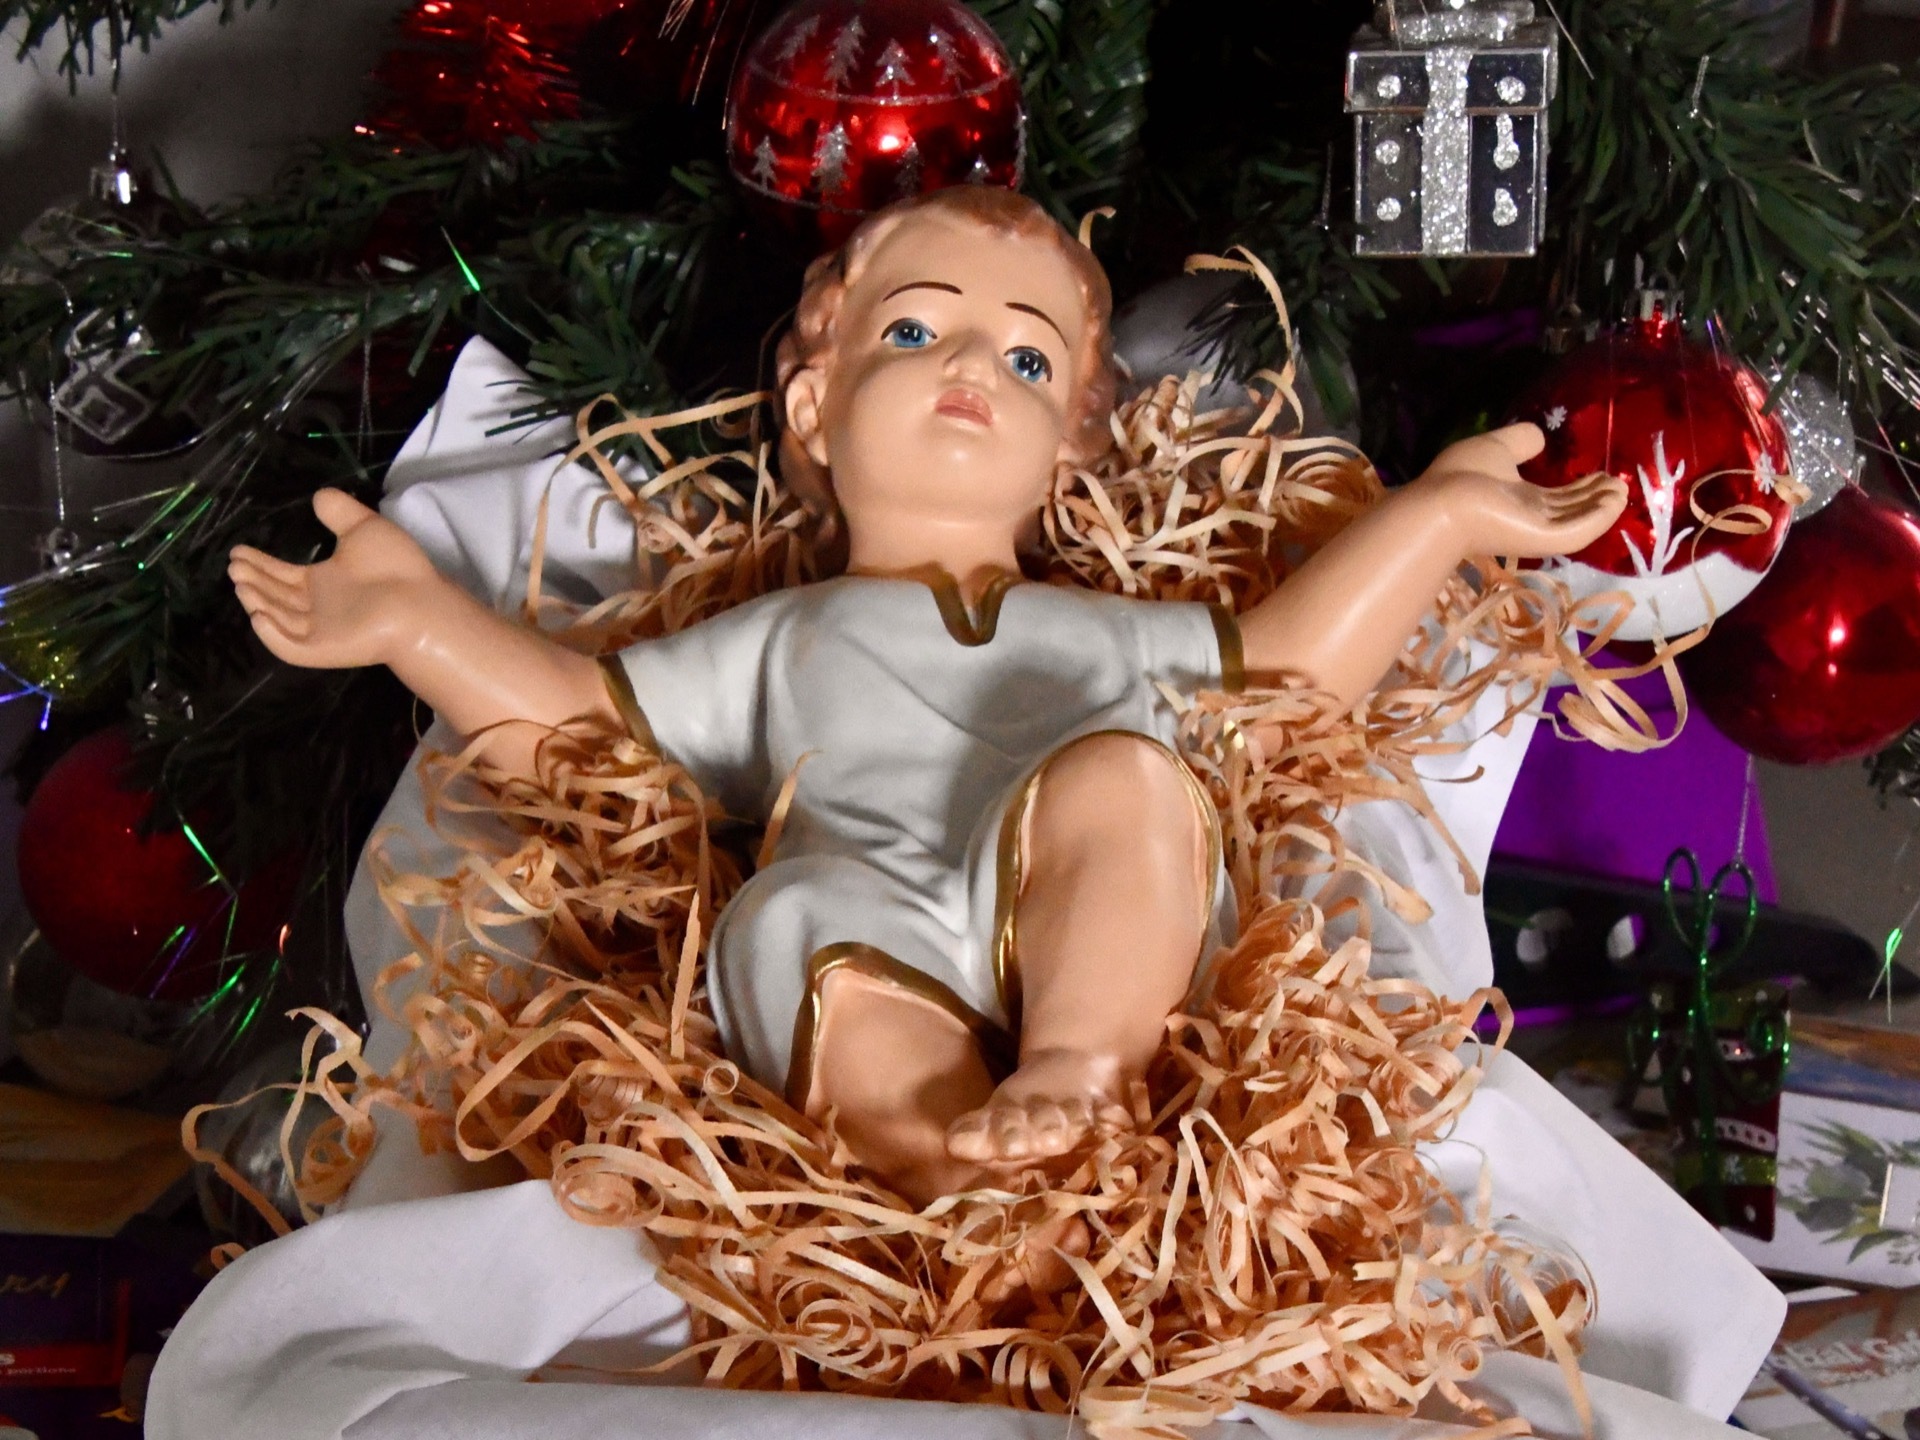
Christmas manger in partsChristmas manger with just the ends togetherAlmost complete Christmas mangerComplete Christmas mangerComplete Christmas manger with baby JesusComplete Christmas manger with baby Jesus
I am at least very pleased with the result. It only fits together in one way, so I have numbered everything to find what pieces match together quickly. The cloth is just a bit of white calico on which I machine embroidered the Star of Bethlehem. For the straw, I am using wood wool from here. The Baby Jesus is from here.
This is pulling out a project from a few years ago, a wooden Christmas Nativity Scene I made. With this project, I was aiming to make something easy to store during the year, so it has to be able to be quickly taken apart and put back together again, with most of the parts being somewhat flat.
This is not the first or last Christmas Nativity Scene I have made. The first was way back in high school and was much simpler, and the most recent was something like this but scaled up for use in a Parish Church. This, however, is by far my favourite.
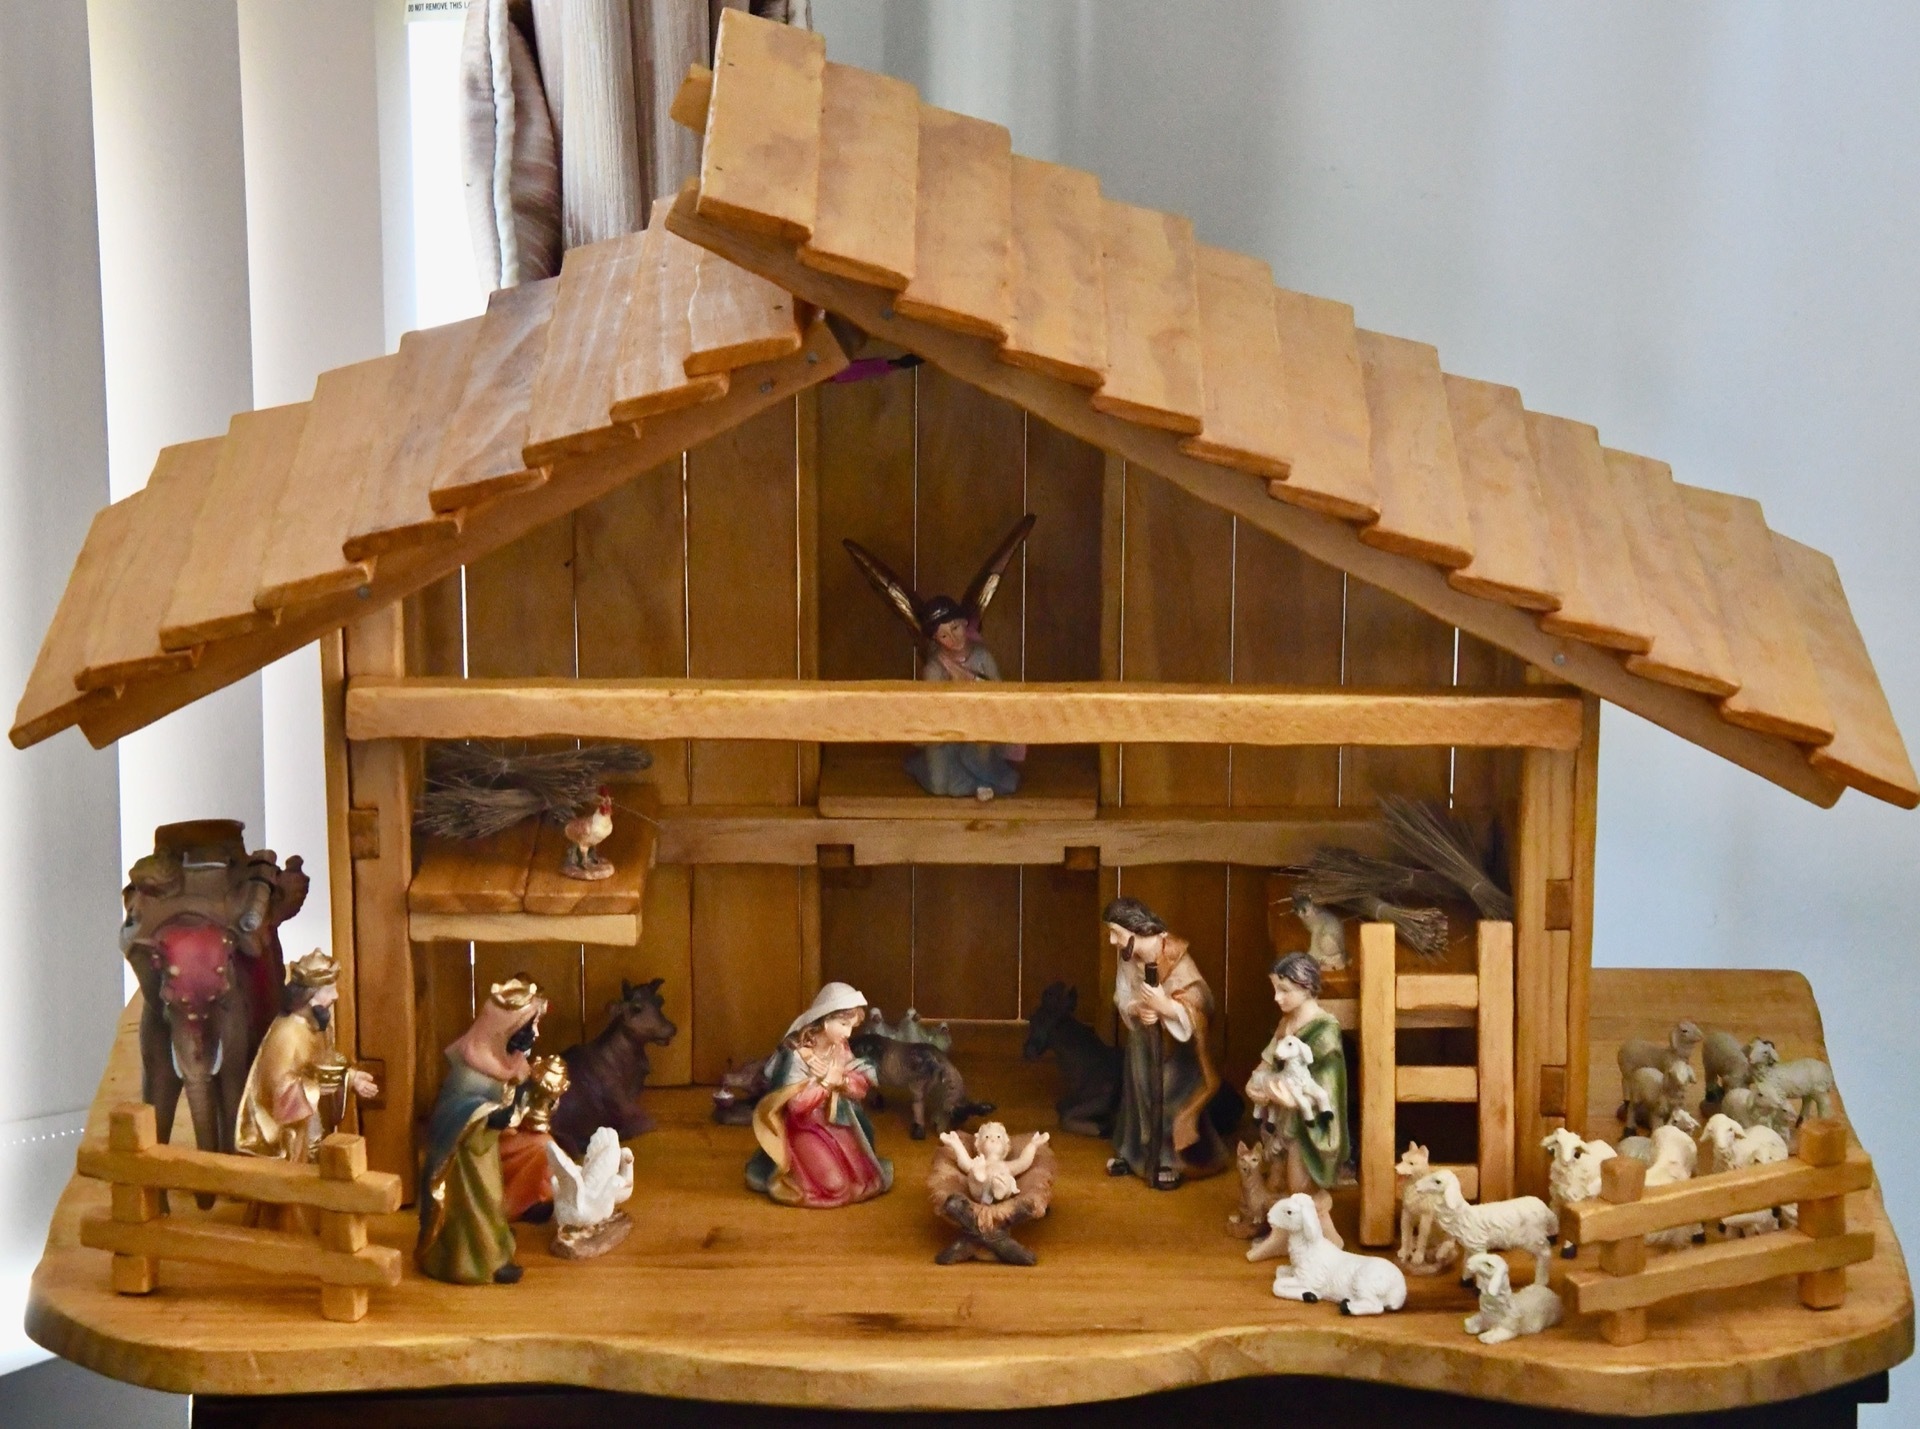
The parts of the Nativity SceneNativity Scene Walls in PlaceNativity Scene with back alcove put togetherNativity Scene with back alcove in placeNativity Scene with roof and lights onNativity Scene with figures
The Nativity Scene is made from pine from the local hardware store. I did not have a pattern I was following, but I just guessed what I would need for what I wanted. I got very close using everything I brought, but I needed a few more pieces to finish the roof. After assembling the nativity scene, I stained it (I remember mixing a few different ones) and then oiled it with some outdoor furniture oil. For scale, it is 65cm wide, 40cm deep, and 40cm high.
All the parts lock together, so there is nothing to screw or unscrew to turn it from the parts to the full standing stable. There are also strips of LED lights attached to the roof.
The figures are the ones I got from here, with a few additions.
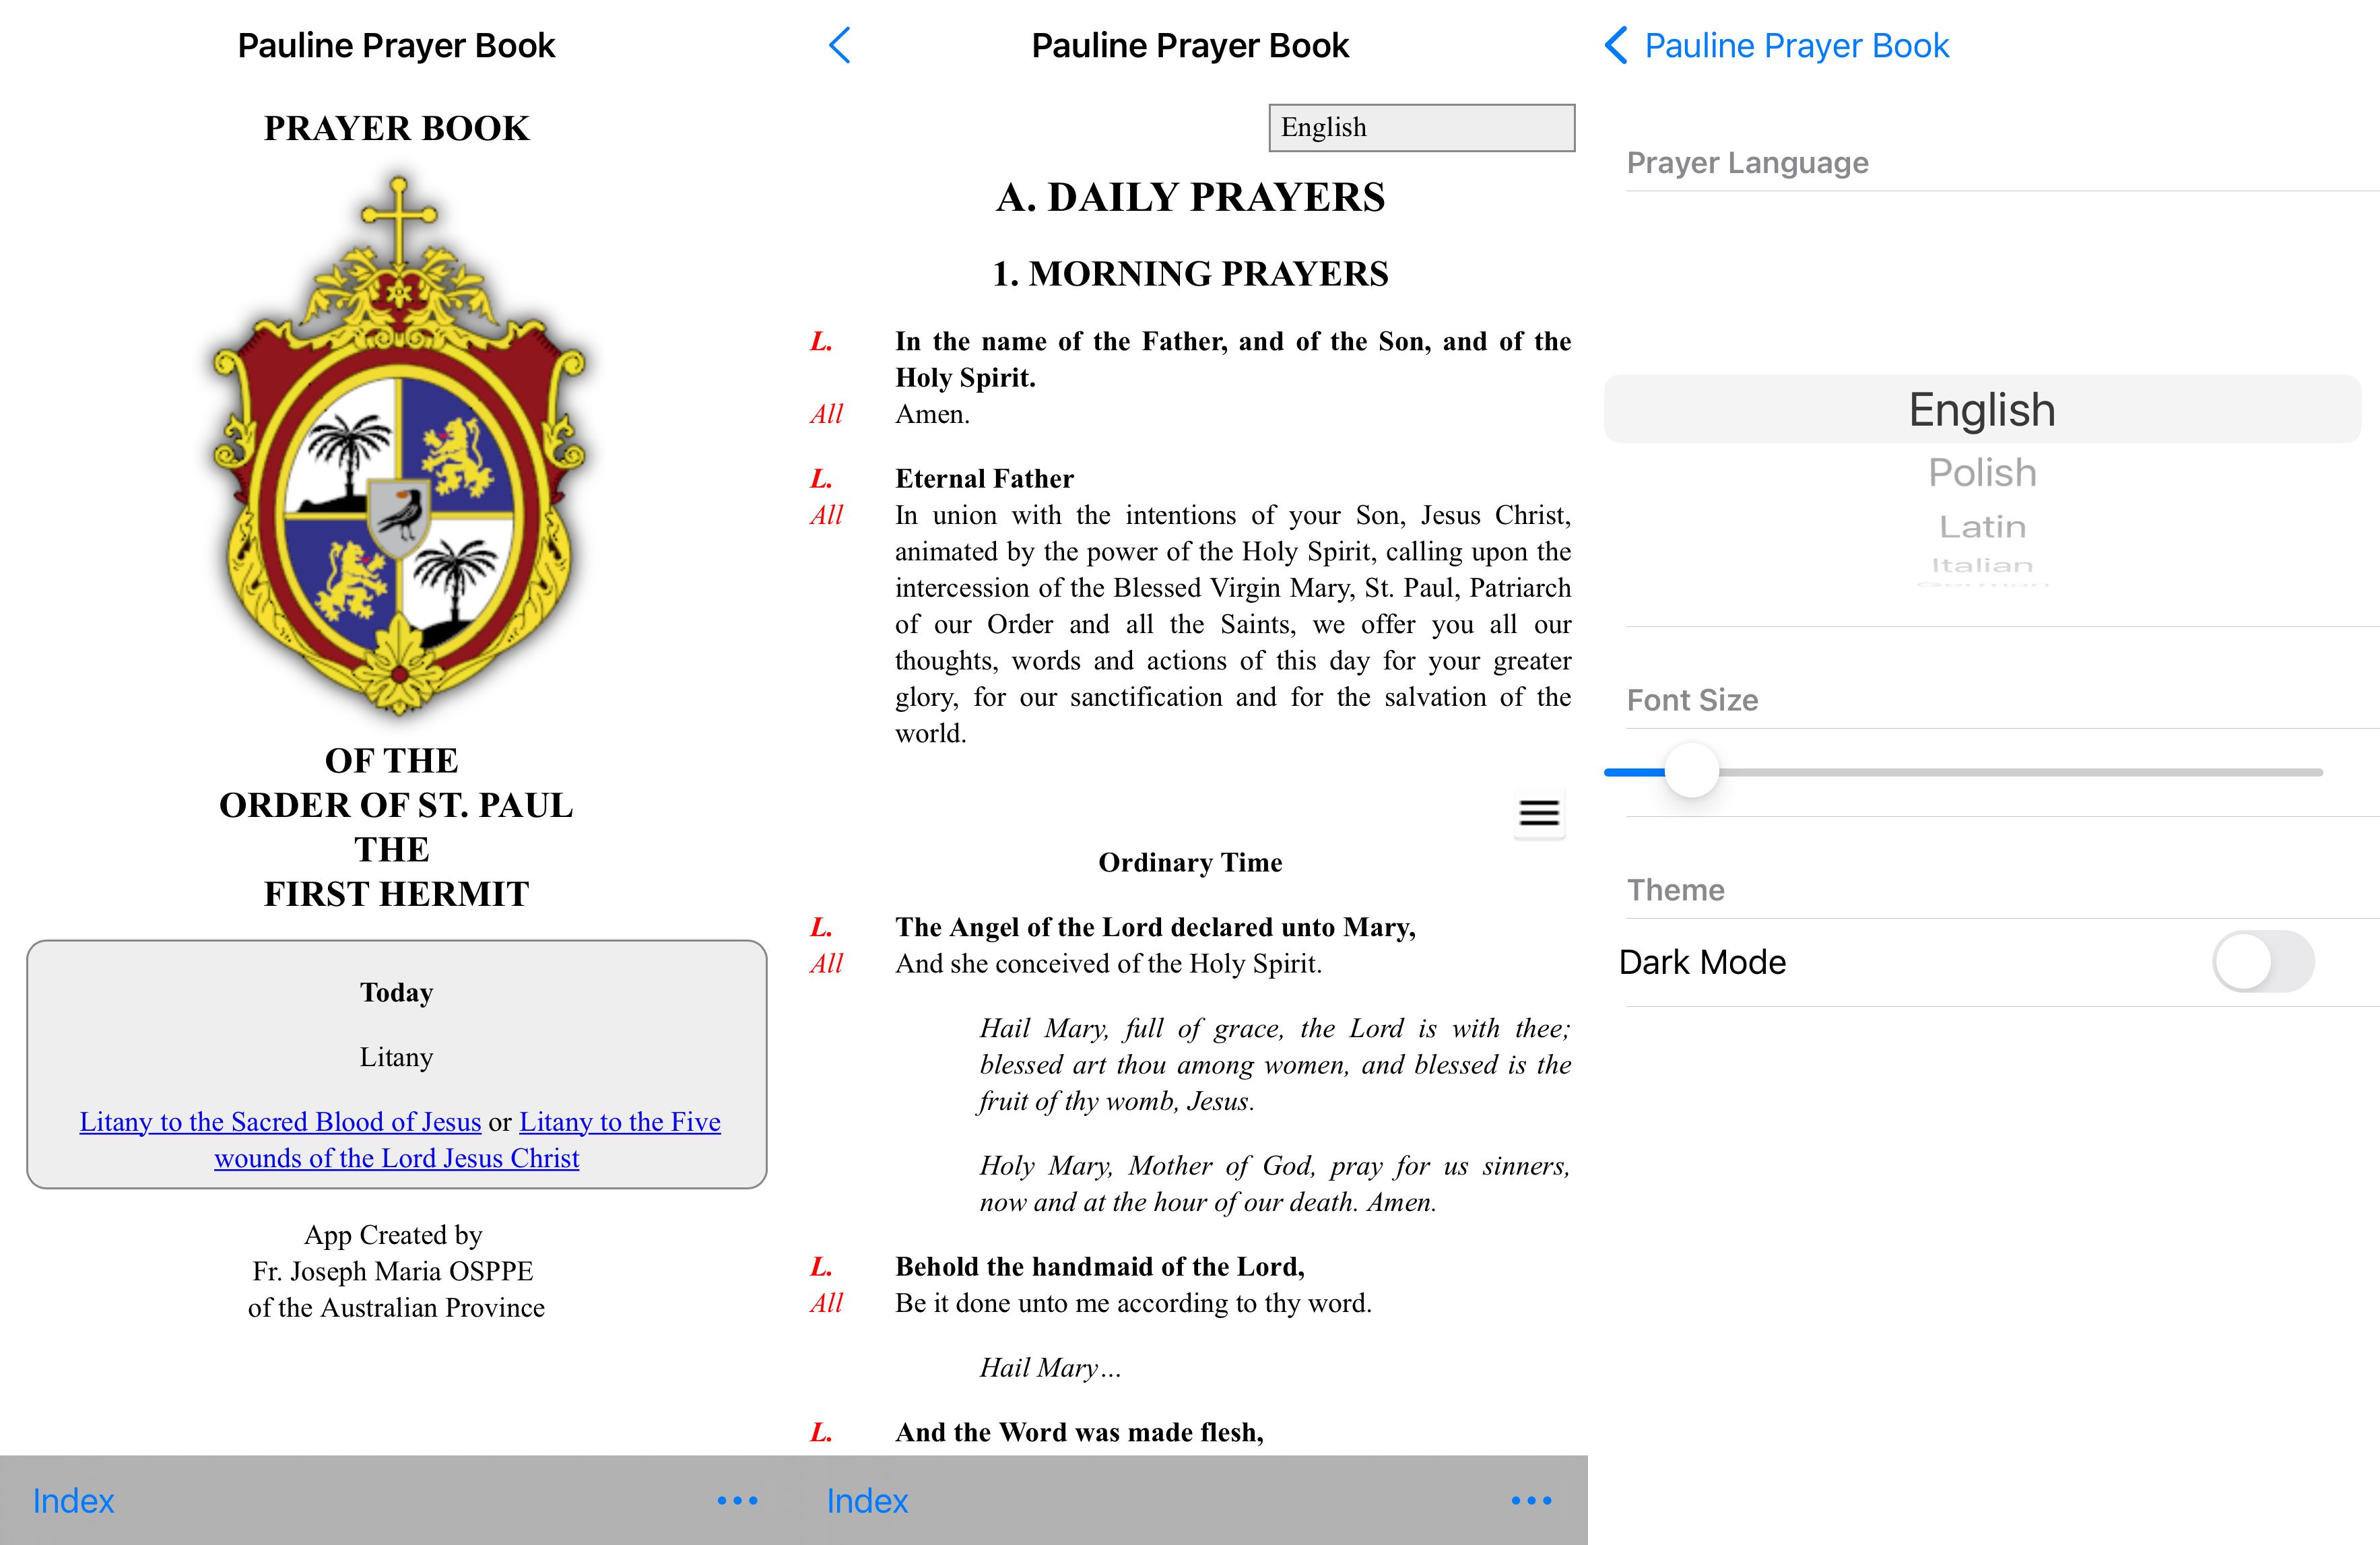
So this week, I got out updates for the Pauline Prayer Book App, which I first released in 2017. It contains the texts used by the Pauline Fathers in their Prayer Book (only this originally) but also the Mass and Divine Office texts, Constitutions and other things. Moreover, it has the texts to some degree of completeness in 8 languages (this update added French used by our fathers in Cameroon, Africa).
I don’t write the texts used in the app; I do have to program the app. I chose to do this twice, making independent versions for Android and iPhone. I also have to reformat all the texts as they are sent to me so they can be included.
I forget precisely what are all the changes went into this version, as I have been doing little bits here and there on and off. I added support for printing the texts to the iPhone version. The Liturgical Calendar also got integrated into the app in more ways. The Android version sends notifications for the liturgical feasts, I have not worked out how to do that on iPhone yet, so hopefully, that will be one for the next update.
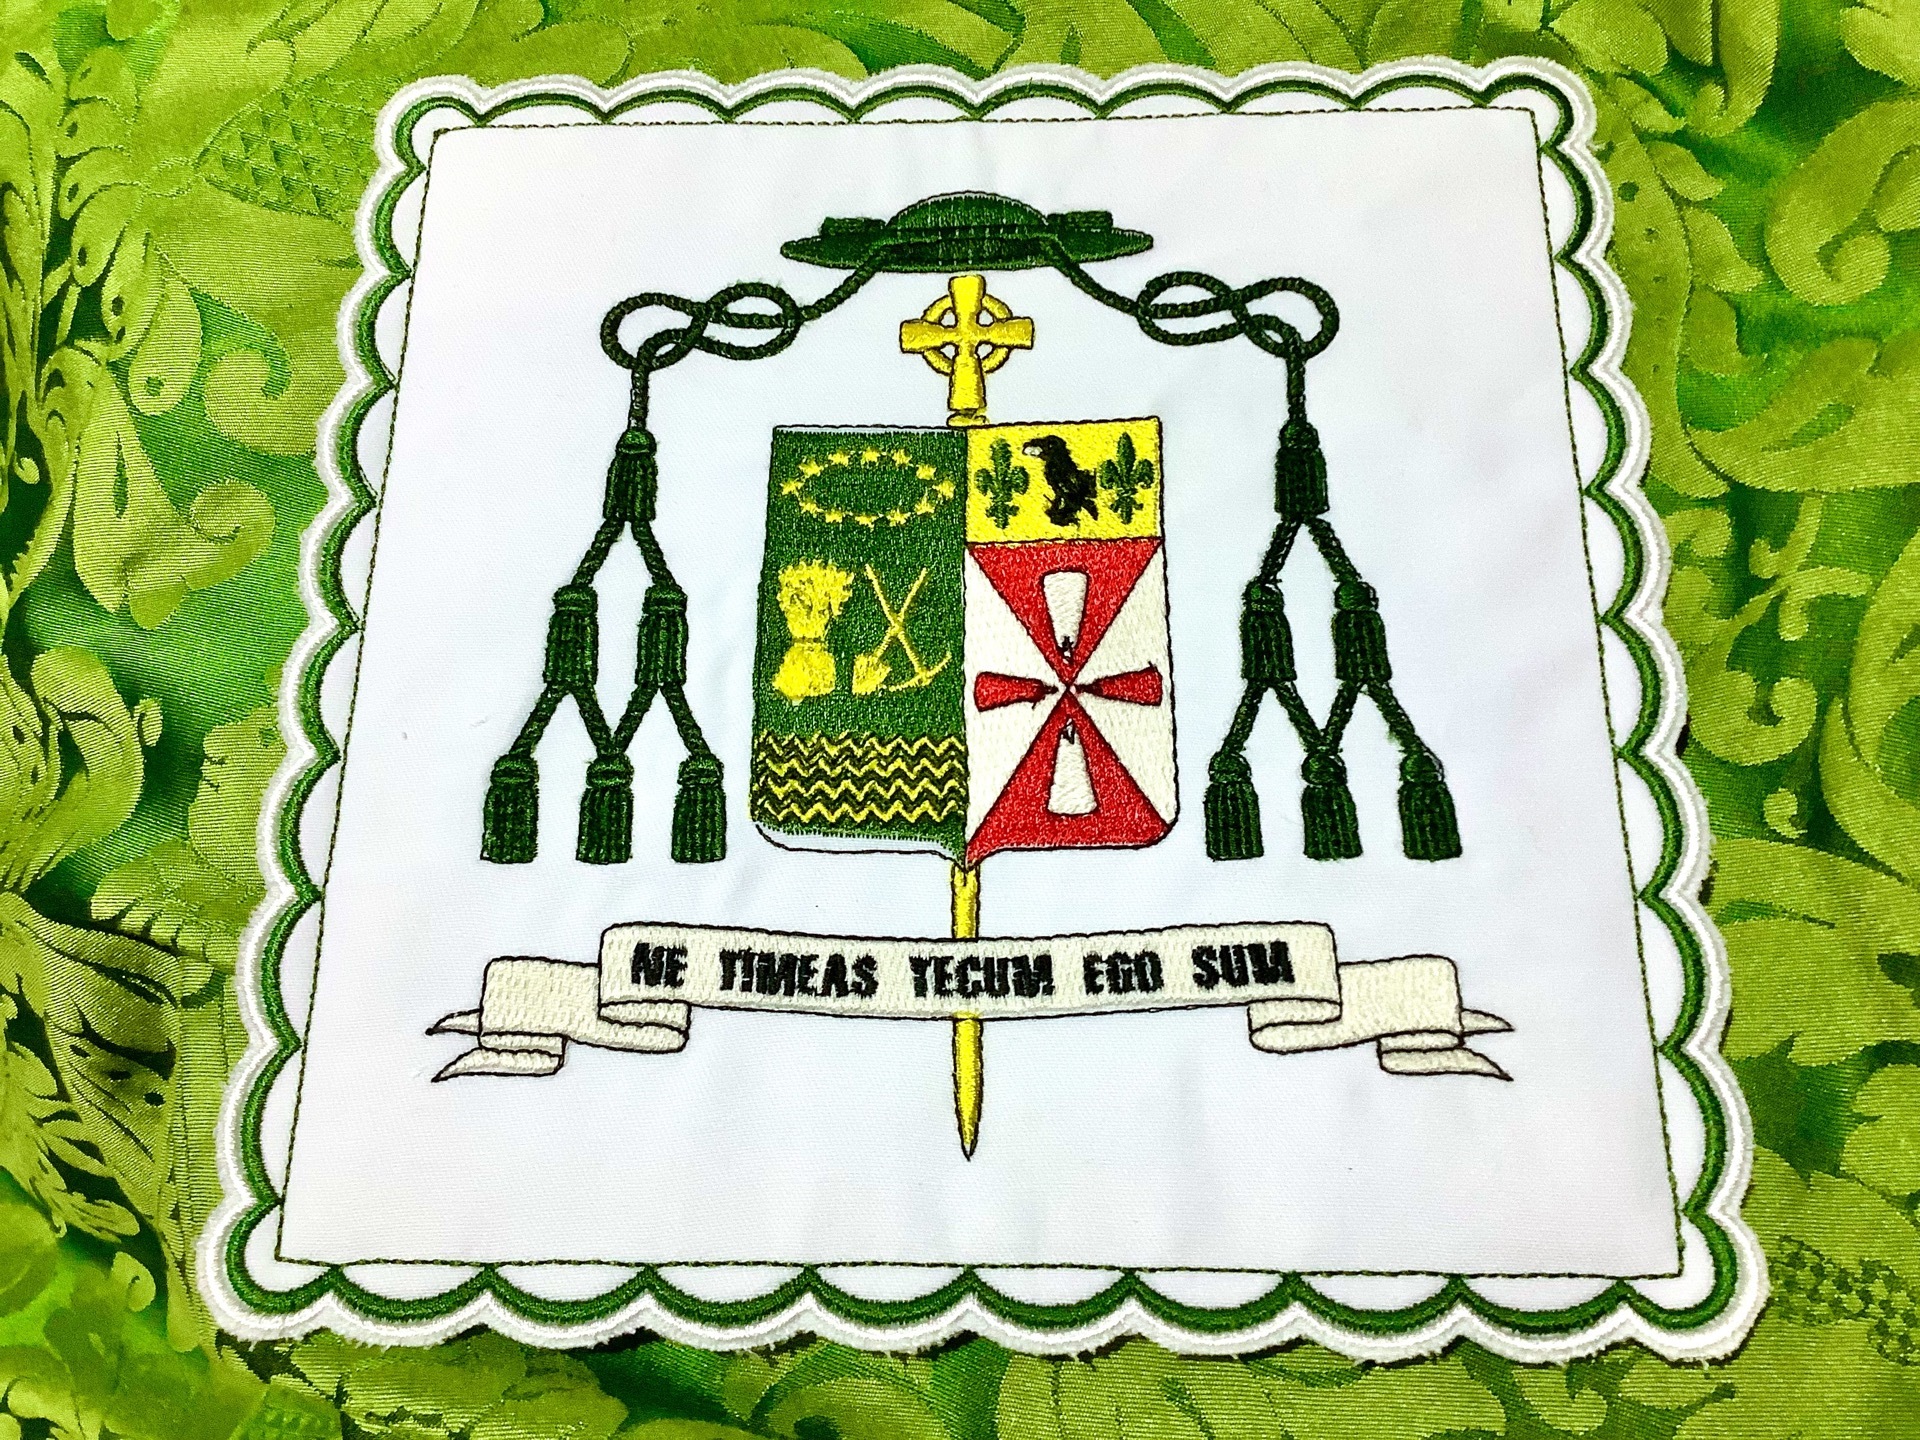
Another embroidery that I did this last week. This time at a friend’s request, it is a bishop’s coat of arms. This time I could start with a high-resolution image from Wikipedia.
Bishop’s Coat of Arms DesignBishop’s Coat of Arms Design RenderBishop’s Coat of Arms Stitched
Above you can see the original artwork, what the embroidery design program thinks it is going to turn out to be, and then the final stitched product.
A little work had to go in after the automatic digitization of the original design. It leaves a lot of holes in, for example, the green and yellow background, which can cause problems of too many tiny stitches or lack of alignment, so I filled those in. Some of the smaller details were probably not going to work, so I deleted some of them. I also spent a while reordering the objects, so they were stitched in a more sensible order, or otherwise, it spends all its time casting off and moving to another area.
Still not perfect; there is a gap between the green area and the black lines above and below it. One of those things I would forever notice, but others might ignore or not notice. I could allow more pull compensation to fix this – lots of stitches in one direction tend to pull the fabric in, even with a stabilizer behind it, so the object can be extended in that direction to counter. Or maybe try changing their direction a little to spread the pull more.
Will I do any of that? I don’t know yet. There might have been a brief discussion about a mitre.
I was taking photos at Marian Valley for their website, which I am updating. Not going to share those photos here, but while doing so, I took some of the other things that took my fancy. Here are a few of them.
Wildlife
Butcher BirdKookaburraWallabyRufus Whistler
I would have liked to get a few more good photos of some birds, particularly the Rufus Whistler (I had help working out what it was). But they don’t stay still very long. But getting a good bird shot would not be half so rewarding if they did.
The Waterfall and Creek
The Creek at Marian ValleyWaterfallWaterfall
I sat around for a while, taking photos of the little waterfall at different shutter speeds. You can see the difference in the effect if you compare the two images.
The Landscape
The forest around the walking trailThe forest around the walking trailView from the top of the Mountain
The walking trail around the place has a view at the top that is worth the climb, and the way down the forest that I was walking through is beautiful.
Plants
BromeliadsBromeliadsBromeliadsFungusStaghorn fern
Just a few plants (I know fungi are not plants) that were good-natured enough, unlike the birds, to stay still while I took photos of them.
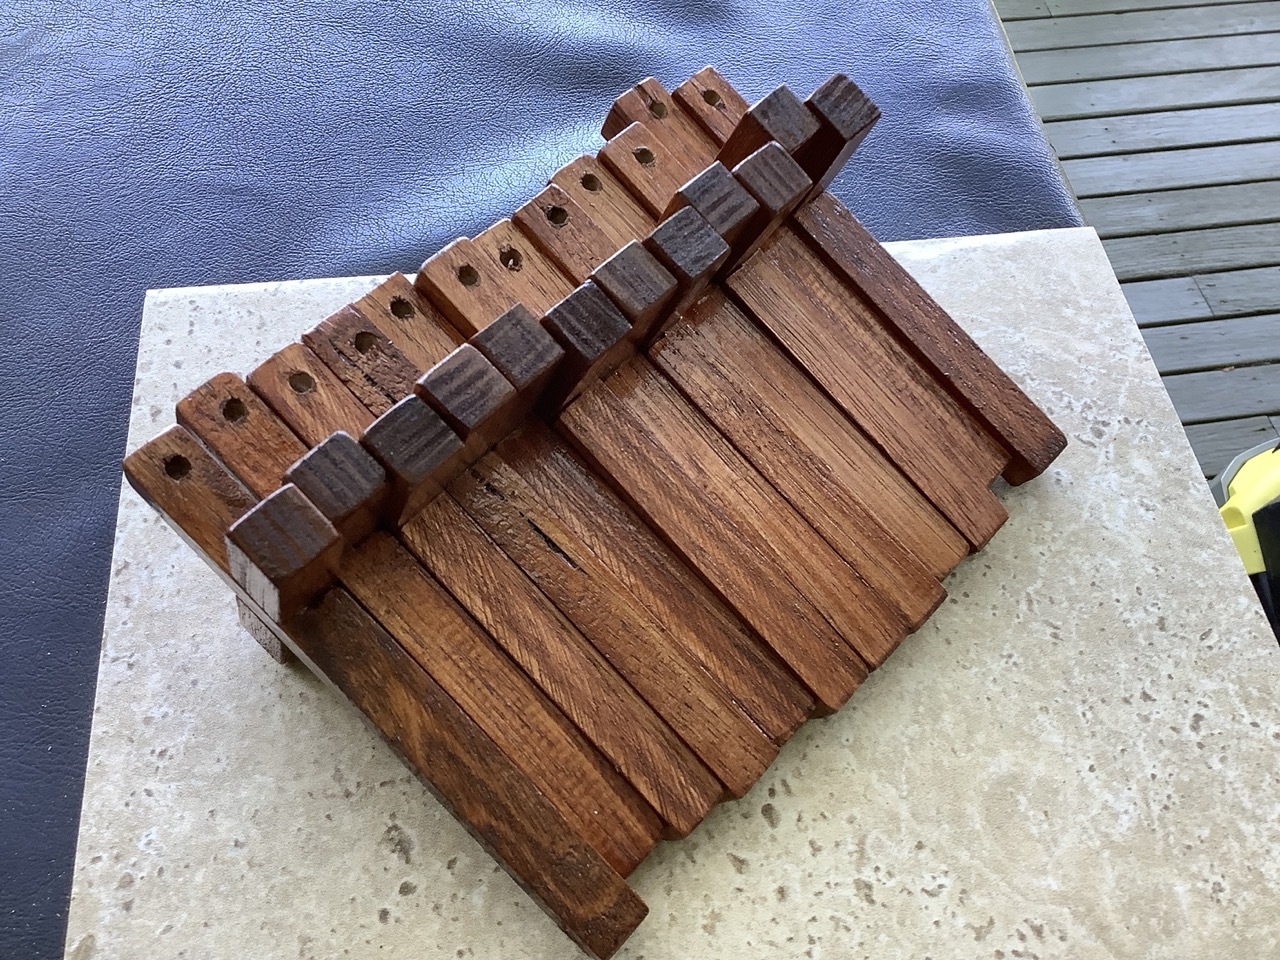
Again another project was done during a short holiday at the parent’s. This time I made some wooden crosses that I will use when I make some large rosaries that could be worn with a habit.
Not much to this, just cutting up some 12x12mm Tasmanian Oak and doing a simple join between them.
All the pieces being put togetherCutting out the joinThe two parts of the CrossThe two parts of the CrossIn the box for cuttingWorking on making the JoinsWorking on making the JoinsTwelve Crosses MadeStrung up for painting
It could have been a little tidier if I was not using a full-sized Tenon saw and had something smaller, but it is what I had. I did the first few, one at a time, but then started cutting them out in batches of four. I used a Mahogany stain on them at the end with a coat of varnish.
When I use these crosses, they will appear again in a future post.
A simple project, but I needed them for the next part. However, I have done other things before that had a little more to them, such as a box for a chalice and a book stand, which I will share the photos of here. I also got some Christmas-themed things I did, but I am saving them to share in December. Next time I am on holiday, I want to try making a prie-dieu/kneeler.
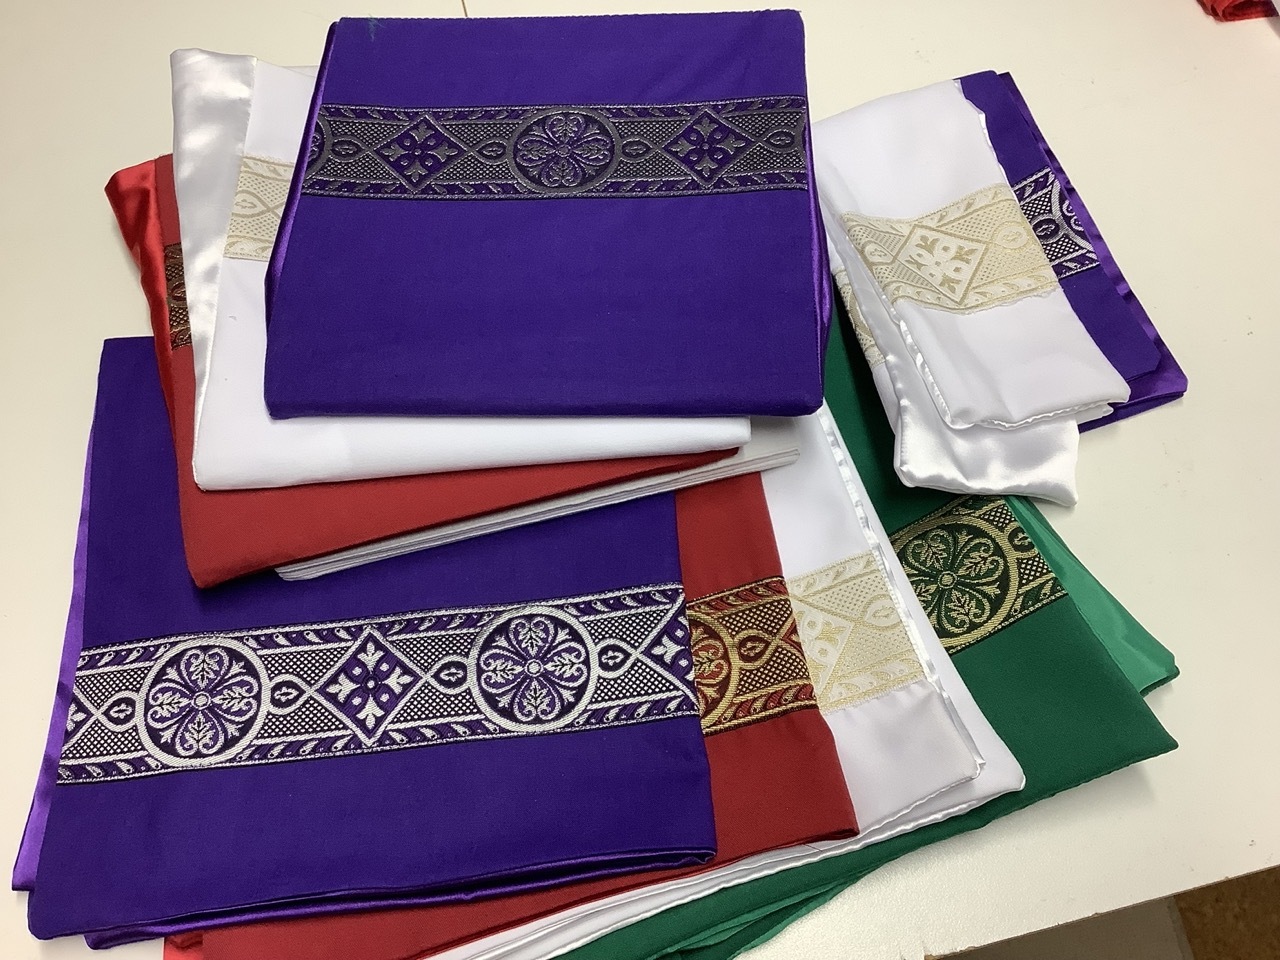
So, here I am, just wanting to experiment with making vestments. It would have been much less work and cheaper to buy the stuff. But I was looking for an excuse right now. So at my parents, I keep a set of vestments, but they are only chasuble and stole, which will not do for a Latin Mass. So looking to make the burse (a rigid case that holds the corporal and goes on top of the chalice), chalice veil and maniple (kind of like a mini stole warn on the priest’s arm).
The Materials for the Vestments
Materials for making some Vestments
On the bottom left, I have the primary materials in each of the four colours. Then in the middle, the orphreys are also in the four colours, plus a blue (Marian) one. Bottom right is the perplex that I put inside the burse with some white calico to line it. Then the top right is the liner for the back of everything.
The chalice veil was easy to make, much like making a simple square pillow but putting nothing in it. There is nothing overly complex about the maniple either. The burse was a little more complicated. It took a while of looking at the one I brought to work out how it was put together. It seemed that the first thing was to line the perplex, and it was easiest to make something with two pockets into which the perplex could be pushed. The outside was also a little tricky. Trying to get the two wedges on the sides that let it open, but only wide enough to slip a corporal inside, was fiddly. It also had to be hand sewn on.
Work in Progress Photos
I should have taken more photos as I was going. I will try and do that when I finish it. There should be five of everything in the end, but for now, I have four chalice veils, three burses and two maniples done. I will finish it off next time I am at my parent’s.
Copying Existing Chalice Veil for sizeSowing on the orphreyOrphrey sown onPurple Chalice VeilSowing the liner for the burse.The inside of the burse lined.Outside the burse ready to be hand sown on.Purple burse and chalice veilManiple cut out with orphrey attachedThe inside for all the burses.Repeating for RedSuccess means pinning stuff carefully firstRed Chalice VeilParts for a red burse
I wanted to share again some other designs I have been working on. These are all things I did a while ago, the stoles were done in 2020, and the palls I did back in July this year.
Stoles
These stoles were one of the first things I started with as a practical way of testing patterns and making something that could be used. So here we have the Black Madonna and the Coat of Arms on one side and St. Paul the First Hermit and the Motto on the other.
I have tweaked all the embroidery patterns since I first did them. Looking at St. Paul on the stoles and the palls, you will notice some changes. One day, once I think I have got to a point where I will not keep changing them, I will share the machine files.
In the first image, you can see all the parts stitched onto a single piece of cloth before I cut it up to make the stoles.
Stole with St. Paul and Black MadonnaStole with St. Paul and Black MadonnaStole with St. Paul and Black MadonnaStole with St. Paul and Black Madonna
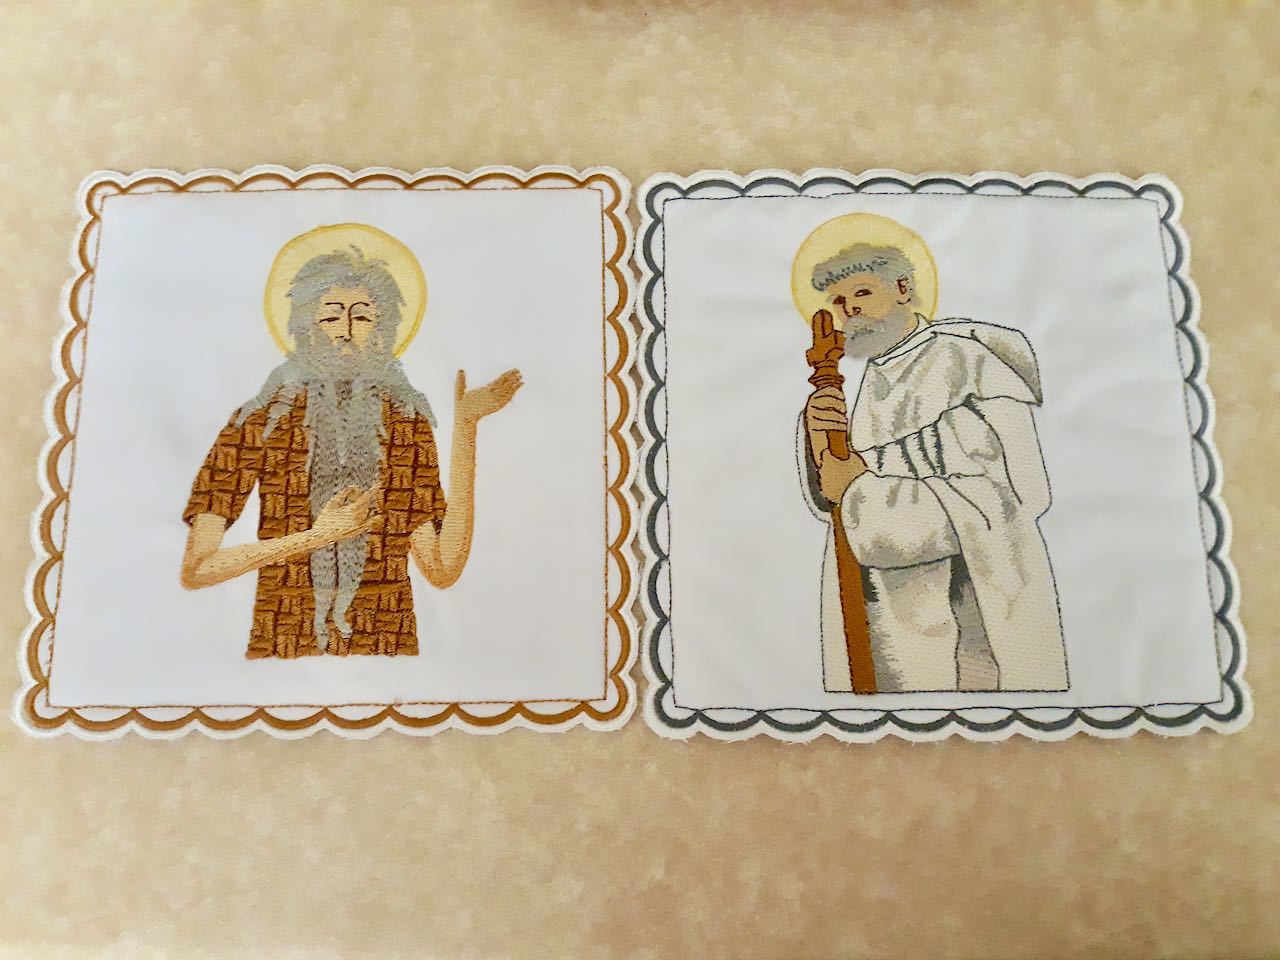
Palls
Another practical test run of some of the designs. Here I have the Black Madonna, St. Paul the First Hermit again (with minor changes) Bl. Eusebius (best first switching of a pattern so far), a few Coat of Arms, and a Coptic Cross.
In a previous post, I explained how I made the palls in more detail, so I will not repeat all those details here.
If you look up close, for example, at the Coat of Arms that has the red and gold border, you can see little gaps between where colours join, hence why I am still working on it. This one here was just how it came from Hatch Digitizer after automatically importing the artwork. On the other hand, the Black Madonna with the fleur-de-lis in the corner is a design I am almost sure I have got as good as I will make it after a few trials (also one I painfully traced out from a relatively poor quality photo).
Coat of Arms PallCoat of Arms PallCoat of Arms PallCoptic Cross PallSt. Paul the First Hermit PallBl Eusebius PallBlack Madonna PallBlack Madonna Chalice Set
The last image has the full linen set for a chalice, the pall, purification, corporal and finger towel. Here is a video of what that looks like on a chalice.
So for a bit of background, in the Order of St. Paul the First Hermit, we keep a Novena to our Heavenly Patron, St. Paul of Thebes, for the nine days before his external Solemnity (that being the Sunday after the 15th of January). This Novena consists primarily of two hymns about him sung on alternative days. So naturally, these have been translated into several languages, including English.
I have collected together in this booklet (that I am hoping to get printed soon) both the English and Latin versions of these hymns. So what I did for this book of note is:
I typeset the music for it using LilyPond. However, I had already done that a while ago for the printing of the English version of the Order’s prayer book.
I made a literal translation of the hymns from Latin, as the previous version was more focused on musical qualities (also included).
I also found (ok was sent by someone hoping I would do something with them) a few versions of the music for the hymns arranged as three-part melodies. I have never heard any of these sung. I am hoping that putting them together and getting them reprinted in this book might prompt others to try and sing them. Oh, and I typeset the gregorian chant using Gregorio.
The document was put together with LaTeX, a software system that uses a structured markup system with a heavy dose of macros. LaTeX is fantastic. It makes me almost want to cry when I see something done in MS Word. But maybe that is me being a little OCD. I want consistency in how everything is formatted in a document: heading style, font and font size used etc. For Word, you have to try to get it right. With LaTeX, you have to try to get it wrong.
Here is the result, if anyone wants to look at it. Or you can have a look at a few of the interesting pages in the images below.
Novena to St. Paul ImageNovena to St. Paul First HymnSome verses from the Novena to St. PaulNovena to St. Paul Second HymnLatin version of the Novena to St. PaulThe literal translation of the Novena to St. PaulThe literal translation of the Novena to St. PaulPart of a three-part melodyPart of a three-part melodyPart of a three-part melodyThe table of contents for the Novena to St. PaulSome of the prayers for the Novena to St. Paul
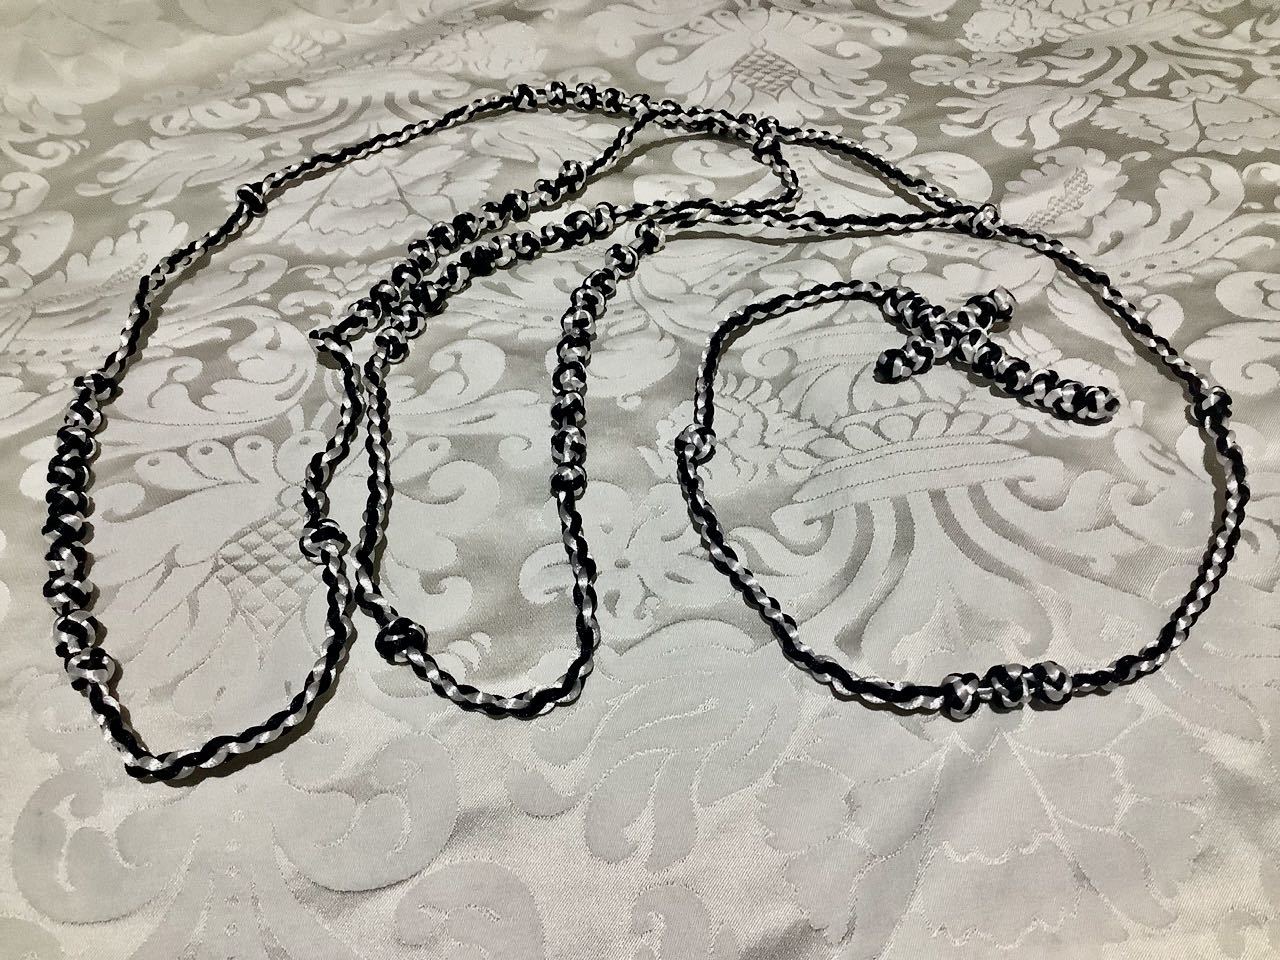
So this Knotted Rosary is like the ones I did before, only larger. I used four cords instead of two, treating each pair of black and white as one. Doing so made it much bigger. Large enough that it is the right size for a monk to wear on the side of a religious habit.
The Process
I used about 40m of cord for this, meaning each strand is about 10m long. Before I started, I tied a knot measuring how long the cord was before and after to decide how much to use. It turned out it was about 10cm, so needing to tie about 70 knots plus the sections between meant just over 8m for each strand. Rounded up to play it safe, but at the end of the project, I can say 8m would have been perfect.
With the cord cut, I tied it in the middle with another scrap of cord (you can see the red cord in some of the photos below) and started weaving the first section. I used what on YouTube I saw called a “four-strand round braid”. I got a lot better at this as I went. You can see in the photo where it shows the rosary being joined in a loop. One section is significantly better than another. To do the braid is easy. First, arrange the cords black-white-black-white and then start swapping the position of the two black, then the two white, and repeating.
The Knots
The knots were a pain, and I probably will never repeat this, even though I was happy with the result. I had to wrap the cords up because 40m cord loves to get into knots. This meant I had to push these cord reels through the knot loops as I was tying them, which was tricky and messy. It was challenging to do unless I was sitting at my desk.
Also, the knots did not look good if I let the two cords I was treating as one get wrapped around each other inside the knot, so I spent a lot of time straightening them out as I tightened the knots. Another difficulty was my use of four strands that kept trying to wrap around each other unless I kept them in position on the desk as I was working. It was often just more frustrating than enjoyable.
Finished Result and Photos
So very happy with what I got, but this will be a one-off. Not the last of the Rosaries that I plan to share here. I got four pairs I want to make from beads and chains and a few others using much more straightforward knots with beads.
Wearing the RosaryThe Finished Rosary to be used with a Religious HabitThe Cross partly madeA good look a the section of woven cord between a decade. The separate six knots are to be used to make a cross.Rosary joined into a loopAbout to join the rosary into a loopThe knots are about 1cm eachWeaving the cords together between the decadesA completed decade.The reels of cord, along with a partly tied knot